
Seeds That Start Themselves, Outside, in Winter
Winter sowing sounds backwards at first. You sow seeds in the coldest part of the year, put them outside in snow and rain, and then — mostly — leave them alone. No grow lights in a spare room. No trays balanced on every windowsill.
The container is the whole trick. A recycled gallon milk jug becomes a tiny greenhouse: it holds moist soil, lets in light and rain, vents through its open mouth, and shelters seedlings from wind while still exposing them to real cold. That cold is not a problem to work around. For the right seeds, it is the point. Many perennials and hardy flowers need a period of cold, damp weather — cold stratification — before they sprout well, and winter sowing gives them just that.
This guide is deliberately beginner-sized: one method, one container, a short list of seeds that suit it, and honest limits. Winter sowing is nearly free and simple, but it does not suit every plant or climate. Read the limits first, then gather your jugs.

What Winter Sowing Is — and Why It Works
In nature, plenty of plants drop seed in autumn. That seed sits through freeze and thaw, gets rained and snowed on, and sprouts when spring temperatures suit it — not a day earlier. Winter sowing copies that cycle in a container you control.
The jug does four jobs at once. The translucent plastic lets in daylight. The open neck — the cap stays off, always — lets rain and snowmelt water the soil, and lets excess heat escape on bright days. The walls block wind, birds and downpours, so tiny seeds are not washed away or eaten. And because seedlings grow outdoors from the start, they are already used to sun, breeze and cool nights — no hardening-off week of carrying trays in and out.
The Honest Limits Before You Start
Winter sowing needs real winter. The method depends on a genuine cold period — weeks of chilly days, frosty nights and freeze-thaw swings — to stratify seeds and hold them dormant until spring. If your winters are mild with only the odd cool night, results get unreliable: seeds may sprout too early, rot in warm damp soil, or never get the cold some require.
So, plainly: winter sowing does not work in frost-free climates, including USDA zones 10–11. If frost never really arrives where you garden, skip this method rather than fighting it. Start seeds indoors in trays on a bright windowsill or under a simple light instead, and direct-sow hardy things outdoors in your coolest season.
Timing needs the same honesty. There is no single national calendar for winter sowing, and any chart giving one date for the whole country should be ignored. A gardener with deep, long winters sows on a different schedule from one whose winter is six mild weeks. Throughout this guide, timing is written relative to your winter — how cold it is and how long it lasts.
Finally, keep the scope small: six to ten jugs teach the whole method.
What You Need (Almost All of It Free)
- Gallon milk or water jugs — translucent, not solid white. Rinse well; the caps are not used.
- Seed-starting mix or fine potting mix — usually the only purchase. Avoid heavy garden soil, which compacts in a jug.
- Seeds — see the lists below; perennials and hardy annuals first.
- A knife or strong scissors, duct tape, and a paint pen for cutting, sealing and labels.
- Something to poke drainage holes — a skewer, drill, or knife tip, used carefully by an adult.
That is the entire shopping list. The same low-cost mindset runs through our balcony garden winter ideas for small spaces — winter sowing fits a balcony or a single sunny step as well as a big yard.

Winter Sowing, Step by Step
Step 1: Poke the Drainage Holes First
Before any cutting, poke four to six holes in the bottom of each jug. Drainage is non-negotiable: a jug without holes becomes a swamp after the first real rain, and seeds rot in standing water. Doing this first is easier — the jug is still rigid and safe to hold.
Step 2: Cut Around the Jug, Leaving a Hinge
Cut horizontally around the jug about four inches up from the base, just below the handle. Stop before you complete the circle: leave an inch or two uncut under the handle so the top stays attached. That uncut section is the hinge. The top flips back while you fill and sow, then folds down to close the mini greenhouse.
Step 3: Add 3–4 Inches of Moist Mix
Fill the bottom half with three to four inches of seed-starting mix. That depth matters: less dries out too fast and leaves no room for roots; much more wastes mix and stays cold and soggy. Moisten the mix before or right after filling — it should feel like a wrung-out sponge, damp through but not dripping. Press it down lightly so seeds rest on a firm surface instead of sinking into loose pockets.

Step 4: Sow at the Packet Depth
Sprinkle or place your seeds on the surface and cover them to roughly the depth the packet states — a light dusting for tiny seeds, deeper for large ones. Sow a little generously, but do not empty the packet into one jug: crowded seedlings compete and tangle. One variety per jug. If a packet says the seed needs light to germinate, press it onto the surface and leave it uncovered — the packet always wins.
Step 5: Label Twice, Then Tape the Jug Shut
Labeling is where winter sowing succeeds or fails, because in March every jug looks identical. Write the variety and sowing date on a label inside the jug, and again on the outside with a paint pen or outdoor marker — ordinary ink often fades by spring. Then fold the top down and run duct tape around the seam to hold it closed.

Step 6: Cap Off, and Set the Jugs Outside in Sun
Take the cap off and leave it off. This is the step beginners most often get backwards. The open neck is the jug’s watering system and ventilation in one: rain and snowmelt enter there, and warm air escapes on sunny days so seedlings do not cook. Set the jugs outside in a sunny spot, grouped together where they will catch real weather — not under a porch roof or eaves, where rain cannot reach them. Then walk away. Winter does the work from here.
Which Seeds to Sow First
Start with seeds that want cold:
- Perennials that need cold stratification: coneflower, black-eyed Susan, milkweed, columbine, lavender and many native wildflowers. A packet saying “cold stratify” or “sow in fall” is your green light.
- Hardy annuals that shrug off frost: poppies, larkspur, bachelor’s buttons, calendula, sweet peas and nigella.
- Hardy vegetables and herbs: kale, spinach, lettuce and other cool-season greens, plus parsley and chives — small, forgiving, and useful early.
Wait on the tender plants. Tomatoes, peppers, basil, zinnias, marigolds, cucumbers and squash hate cold and gain nothing from months outside. If you winter sow them at all, do it much later — in the last stretch of winter, around March or April in many cold-winter areas, and only relative to your own last frost: a few weeks before it, not months. Many beginners simply start tender plants indoors instead, and that is a perfectly good choice.
When to Sow: Read Your Own Winter
For cold-loving seeds, the main sowing window in a genuine winter climate runs roughly December through February — after real cold has settled in, while weeks of it still lie ahead. Seeds put out in a warm autumn spell may sprout immediately and die at the first hard freeze.
After that, think in relative terms. Colder, longer winters give a wide, forgiving window. Shorter, milder winters — the warmer edge of where this works at all — call for sowing in the coldest middle of your winter and choosing the hardiest seeds. Sprouting begins when your spring arrives.
Looking After the Jugs (Very Little, Honestly)
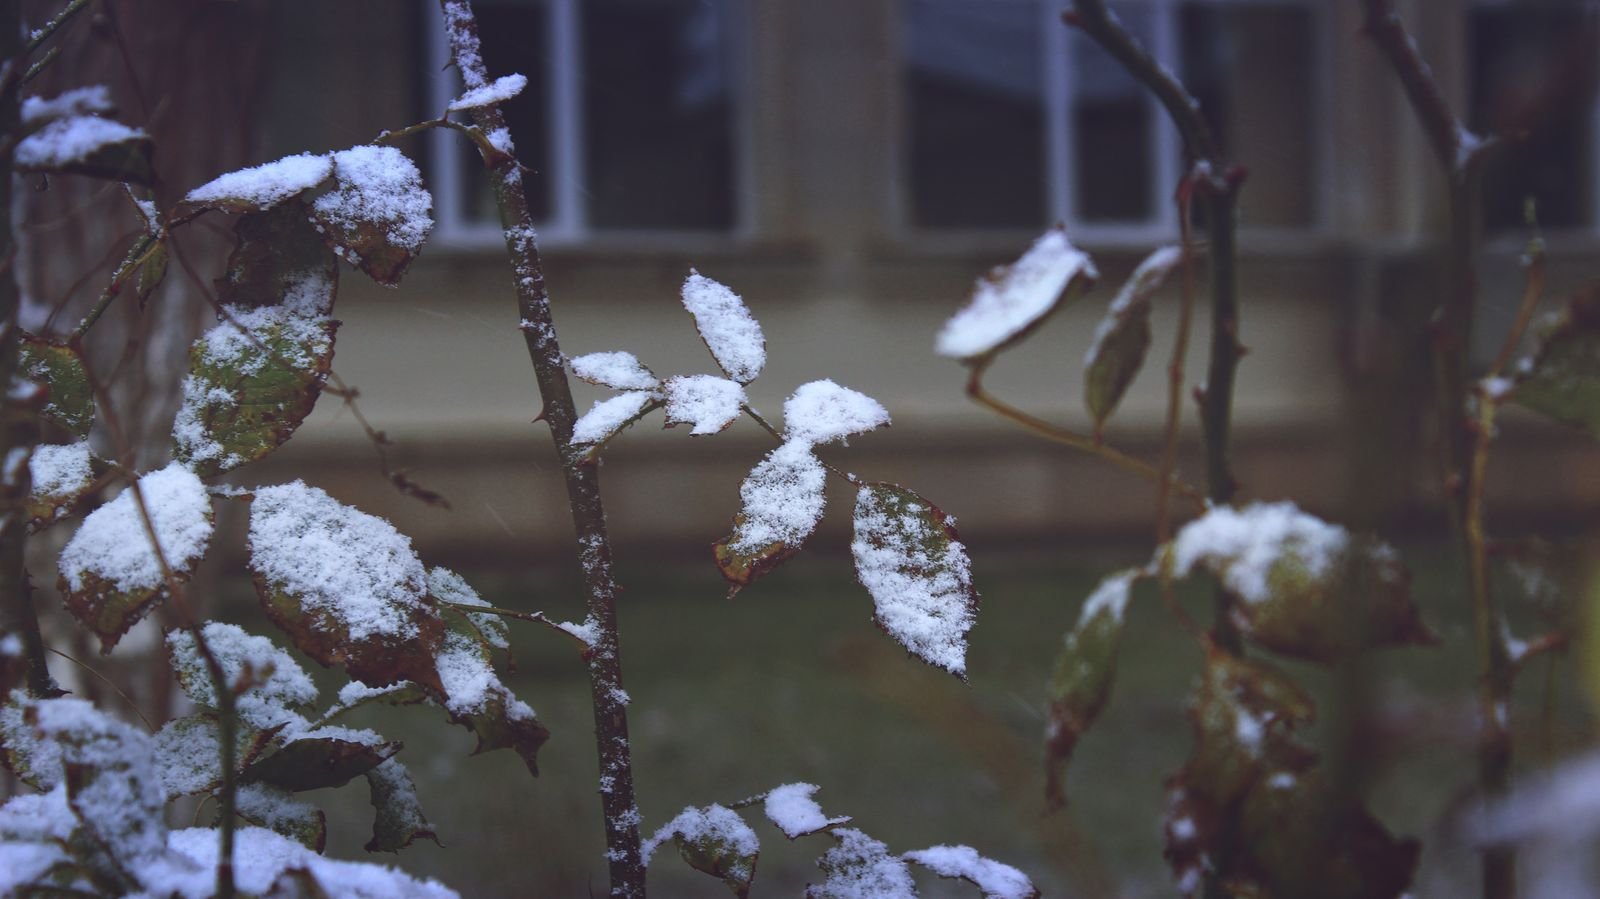
Check the jugs every week or two, mostly to confirm the mix is still moist. Rain and snow do the watering in most winters, but a long dry, windy stretch can dry a jug out — if the surface looks pale, water gently through the open neck. Snow on the jugs is good: it insulates and melts into slow watering.
As days lengthen and you see green, peek more often. On warm spring days, open the hinged tops so seedlings get full air, then close them at night while frosts continue. When nights settle above frost, open the jugs for good.
Transplanting: The Hunk Method
Winter-sown seedlings are tougher than they look, and transplant best young — once they have a couple of sets of true leaves and the soil can be worked. Water the jug, open it fully, and slide the soil block out. Instead of teasing apart every tiny seedling, cut or tear the block into hunks — small chunks, each carrying a few seedlings — and plant the hunks at the packet spacing. The strongest plant in each hunk wins naturally, and a crowded jug becomes a row in minutes.
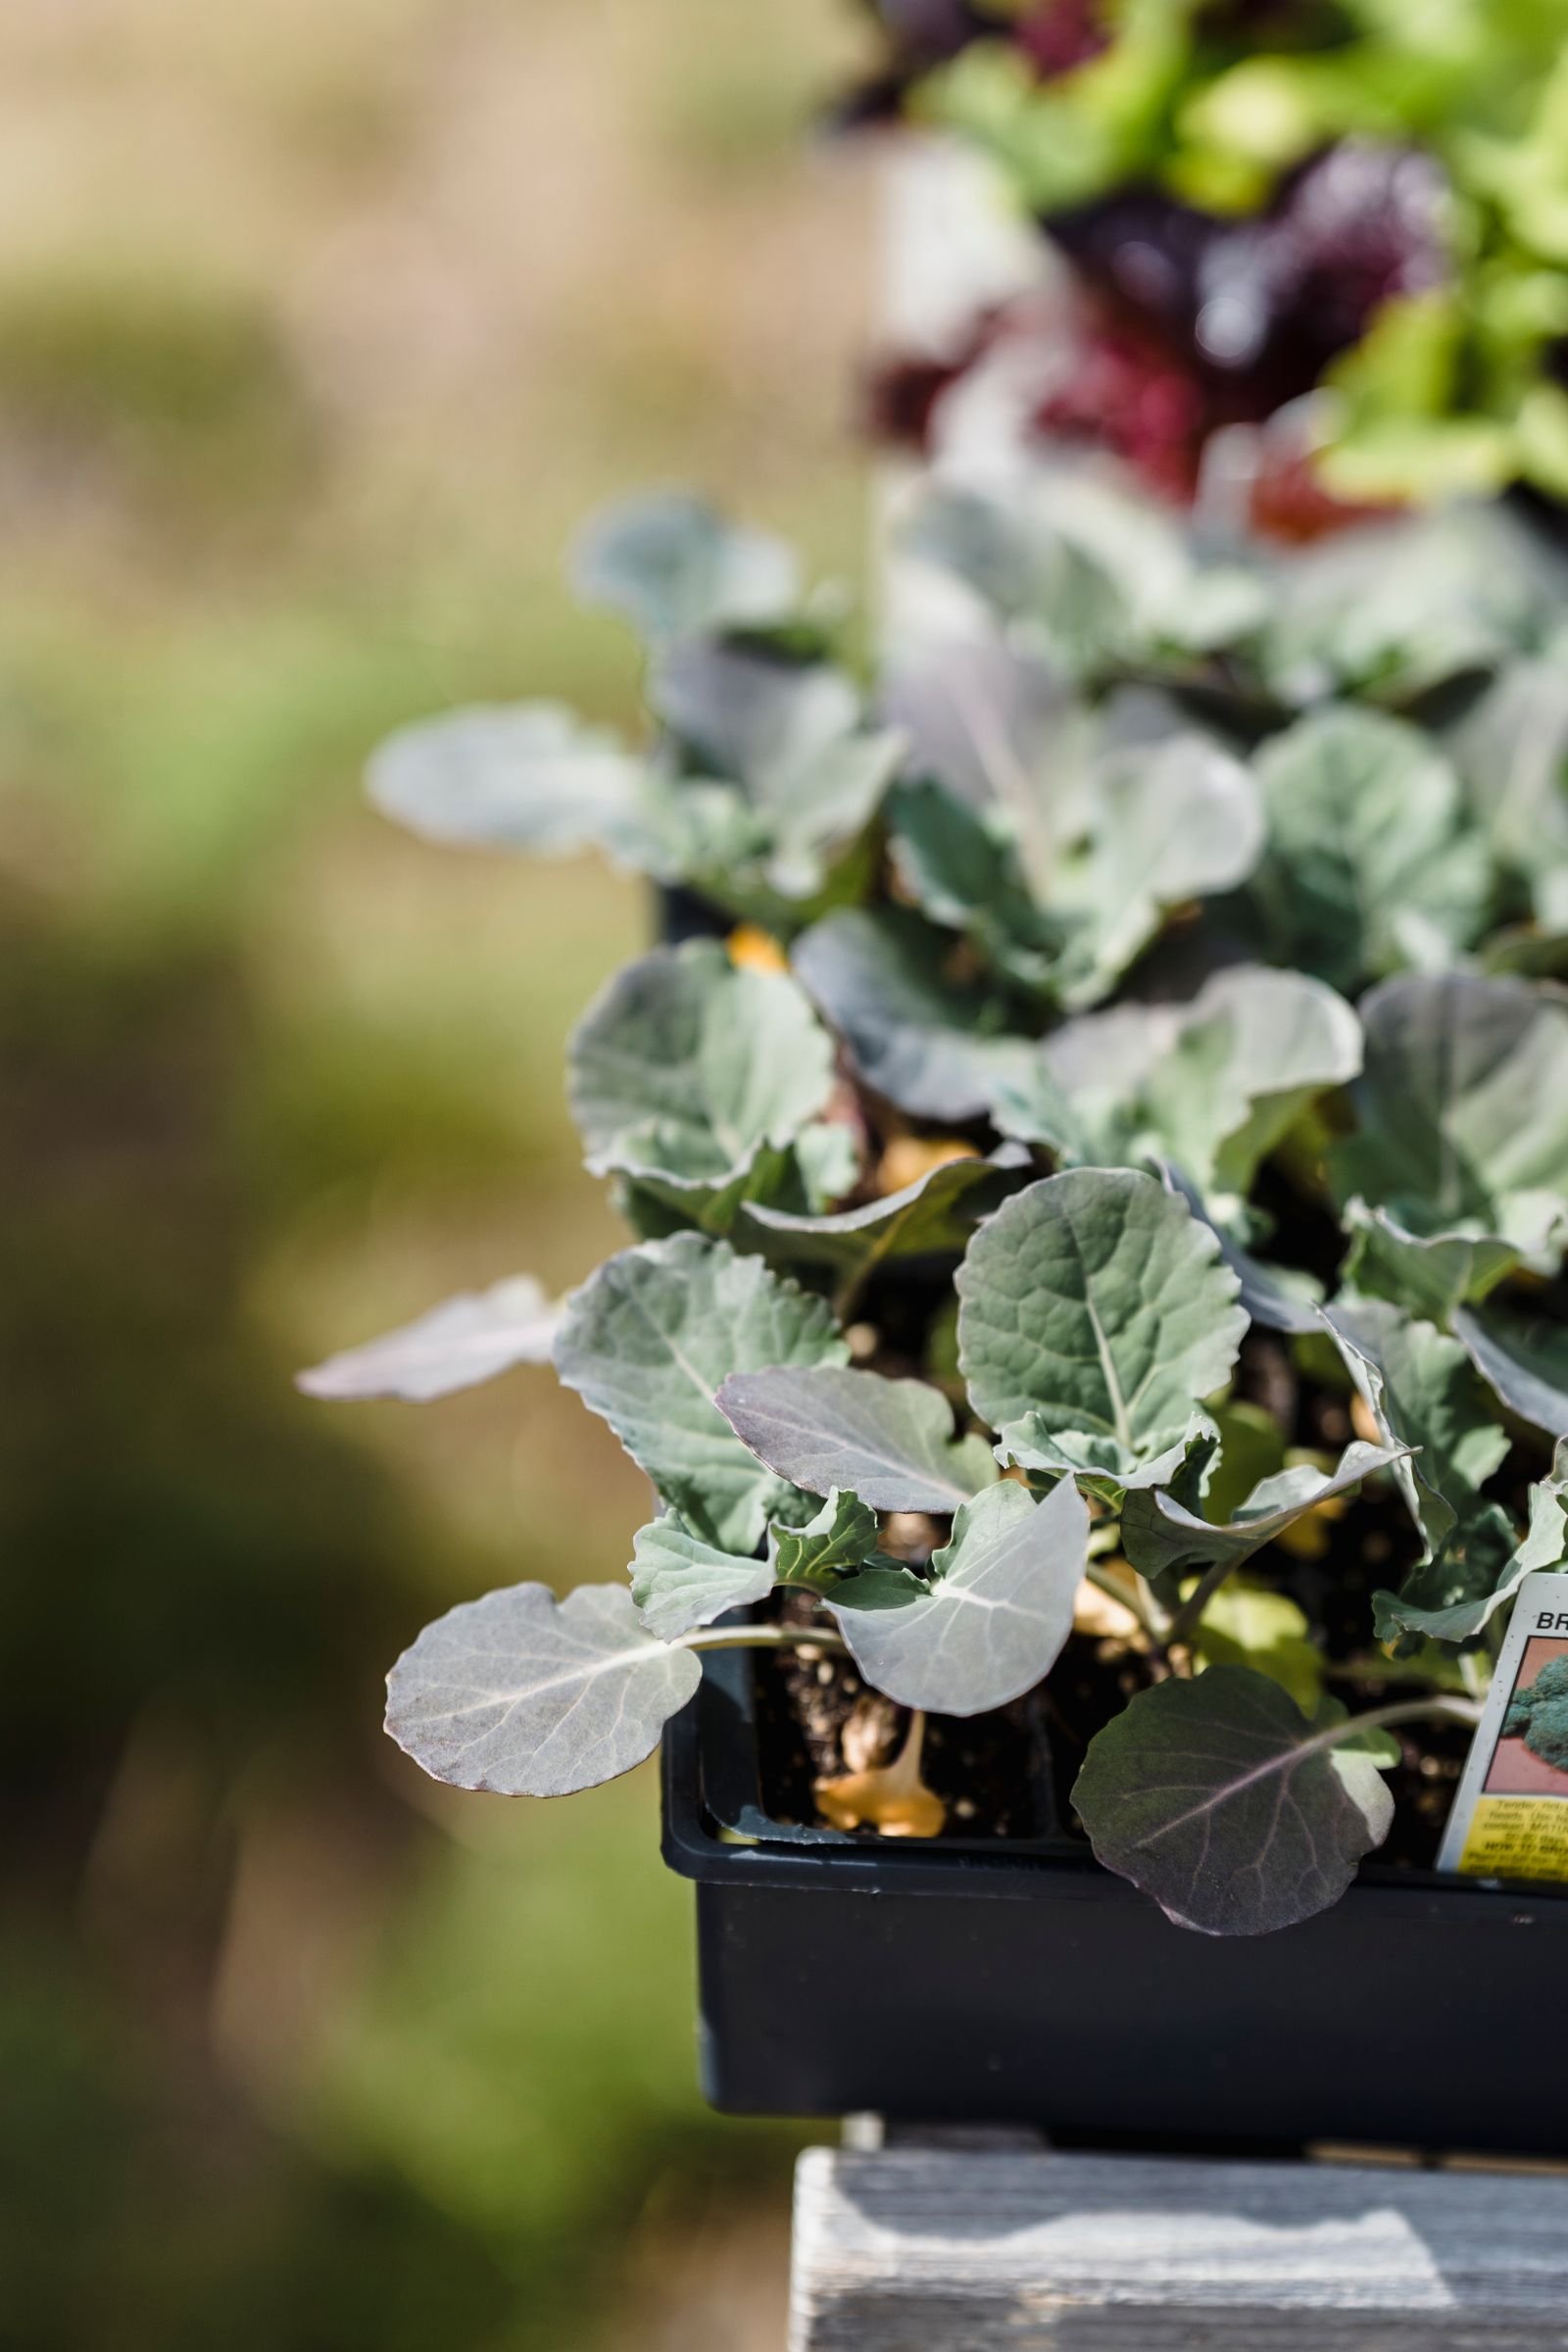
Those same hunks drop neatly into pots, too — our small balcony cozy garden budget ideas show how far a few containers and almost no budget can go.
Beginner Mistakes Worth Skipping
- Leaving the cap on. The jug cannot water or vent itself. Cap off, always.
- Sheltering the jugs under a roof. No rain reaches them, the mix dries, and nothing sprouts.
- Too little mix. Under three inches dries out and starves roots.
- One faded label. Label inside and out; spring-you will not remember which jug was the poppies.
- Sowing tender seeds in midwinter. They need no stratification, only cold damage. Wait, or start them indoors.
- Opening everything on the first warm day. Vent on warm days, close at night, until frosts are truly done.
Winter Sowing Questions
What exactly is winter sowing?
Sowing seeds outdoors in winter inside a recycled, translucent container — usually a gallon milk jug — that works as a mini greenhouse. Seeds experience real cold and moisture, then sprout outdoors in spring when their own timing is right.
When should a beginner start winter sowing?
For perennials and hardy annuals, sow in the main winter window, roughly December to February where winters are real — once cold has settled and weeks remain. Tender plants wait until the last stretch of winter, a few weeks before your last frost.
Does winter sowing work in warm climates?
No — honestly, it does not work in frost-free climates, including USDA zones 10–11, because the method depends on a real cold period to stratify seed and hold it dormant. In those zones, start seeds indoors or direct-sow during your coolest season.
Why does the cap stay off the jug?
The open neck lets rain and snowmelt water the mix, and lets heat escape on bright days. A capped jug stays dry inside, then cooks.
Which seeds are best for a first try?
Perennials that need cold stratification — coneflower, milkweed, columbine — hardy annuals like poppies, larkspur and calendula, plus cool-season greens such as kale and spinach. Save tomatoes, peppers and basil for much later or for indoor starting.
Do winter-sown seedlings need hardening off?
No. They grew outdoors from the start, already used to sun, breeze and cool nights. Open the jugs gradually on warm days, then transplant in small hunks once seedlings have true leaves.