
One Tray Is Enough to Begin
Starting seeds indoors sounds like a hobby that needs a greenhouse and a spare room. It does not. The calm version — the one that actually gets finished — needs one seed tray, one bag of seed-starting mix, and either your sunniest window or one inexpensive light. That is the whole setup. Everything else here is timing and a few small habits, and none are hard.
There are two honest ways to start seeds in January, and it helps to choose on purpose. Winter sowing tucks seeds into covered containers set outside, where real winter cold does the work — nearly free, and wonderful where winters are genuinely cold, though it does not suit frost-free climates. Starting seeds indoors is the other way: warmer and entirely under your control, which is why it suits beginners and small homes so well. This guide is the indoor way, step by step. When your seedlings are ready to live outside, our guide to keeping a small balcony garden cozy through winter shows the sheltered outdoor spot they will be heading for.
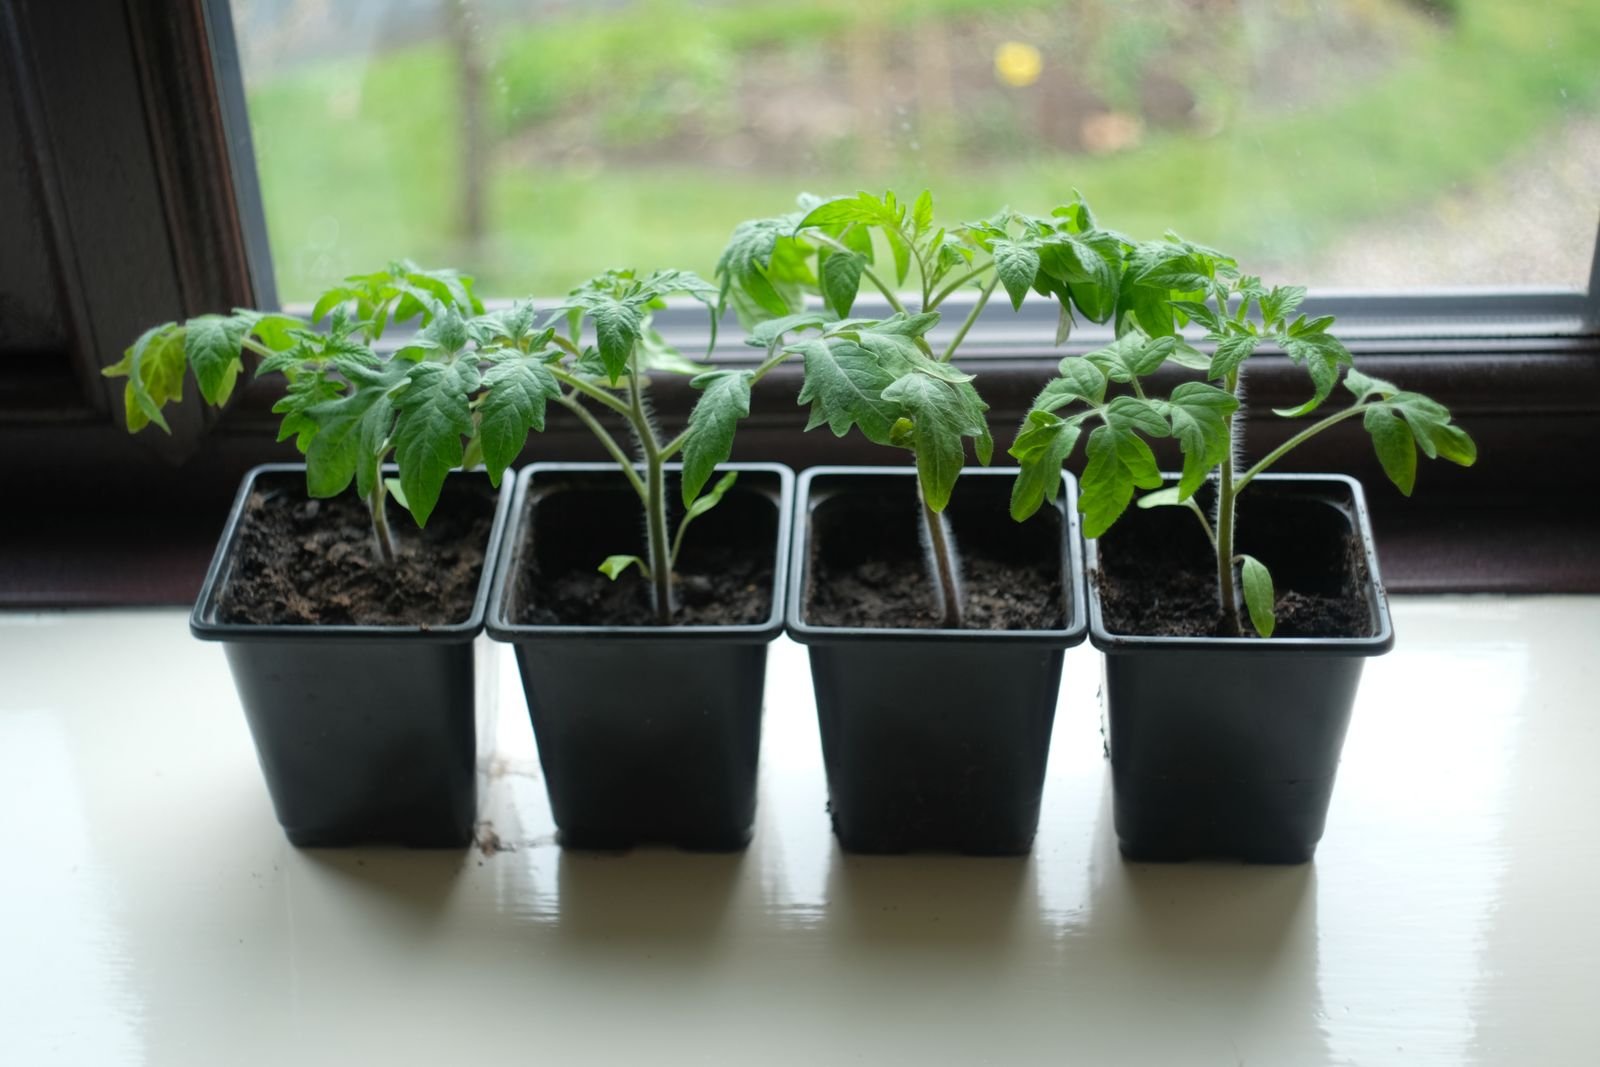
First, the Only Date That Matters
1. Count Back From Your Own Last Frost Date
Every seed-starting calendar printed for the whole country is wrong for most of the country, so this guide will not give you one. Your timing hangs on a single local fact: your average last spring frost date — the point after which tender plants can usually go outside safely. Find yours before you sow anything: search your ZIP code together with the words “last frost date,” and use the free frost-date tool from your state cooperative extension or a weather service — the extension result is the most trustworthy. Write the date down. It anchors everything that follows.
Now read the back of each seed packet. It will say something like “start indoors 6 to 8 weeks before last frost.” That instruction is the whole system: take your date, count back the weeks the packet asks for, and that is your sowing week for that crop. Slow, warmth-loving peppers are counted back furthest, tomatoes sit in the middle, and quick crops need only a few weeks inside. Sow too early and seedlings outgrow their cells and go leggy while the weather is still cold; sow a little late and they simply catch up outdoors. If you must err, err late — it is the forgiving direction.
The Short Supply List
2. Gather One Tray, One Bag of Mix, and Light
Keep the shopping list deliberately small. You need a cell tray with drainage holes and a solid tray underneath to catch water, one bag of seed-starting mix (not garden soil, and not heavy potting soil — seed mix is fine, light and made to hold moisture around tiny roots), your seed packets, labels and a marker, and a clear cover or piece of plastic wrap for the first days. A spray bottle is useful. That is all.
Garden soil fails indoors for simple reasons: it is dense, it drains poorly in a small cell, and it carries weed seeds and the fungi that topple tiny seedlings. Seed-starting mix is sterile and fluffy, which is exactly what a seed needs for its first two weeks. Labels sound optional until three identical green seedlings appear and nobody remembers which is which — label every row the day you sow it, with the variety and the date.
Sowing Day
3. Fill, Moisten, and Sow at Packet Depth
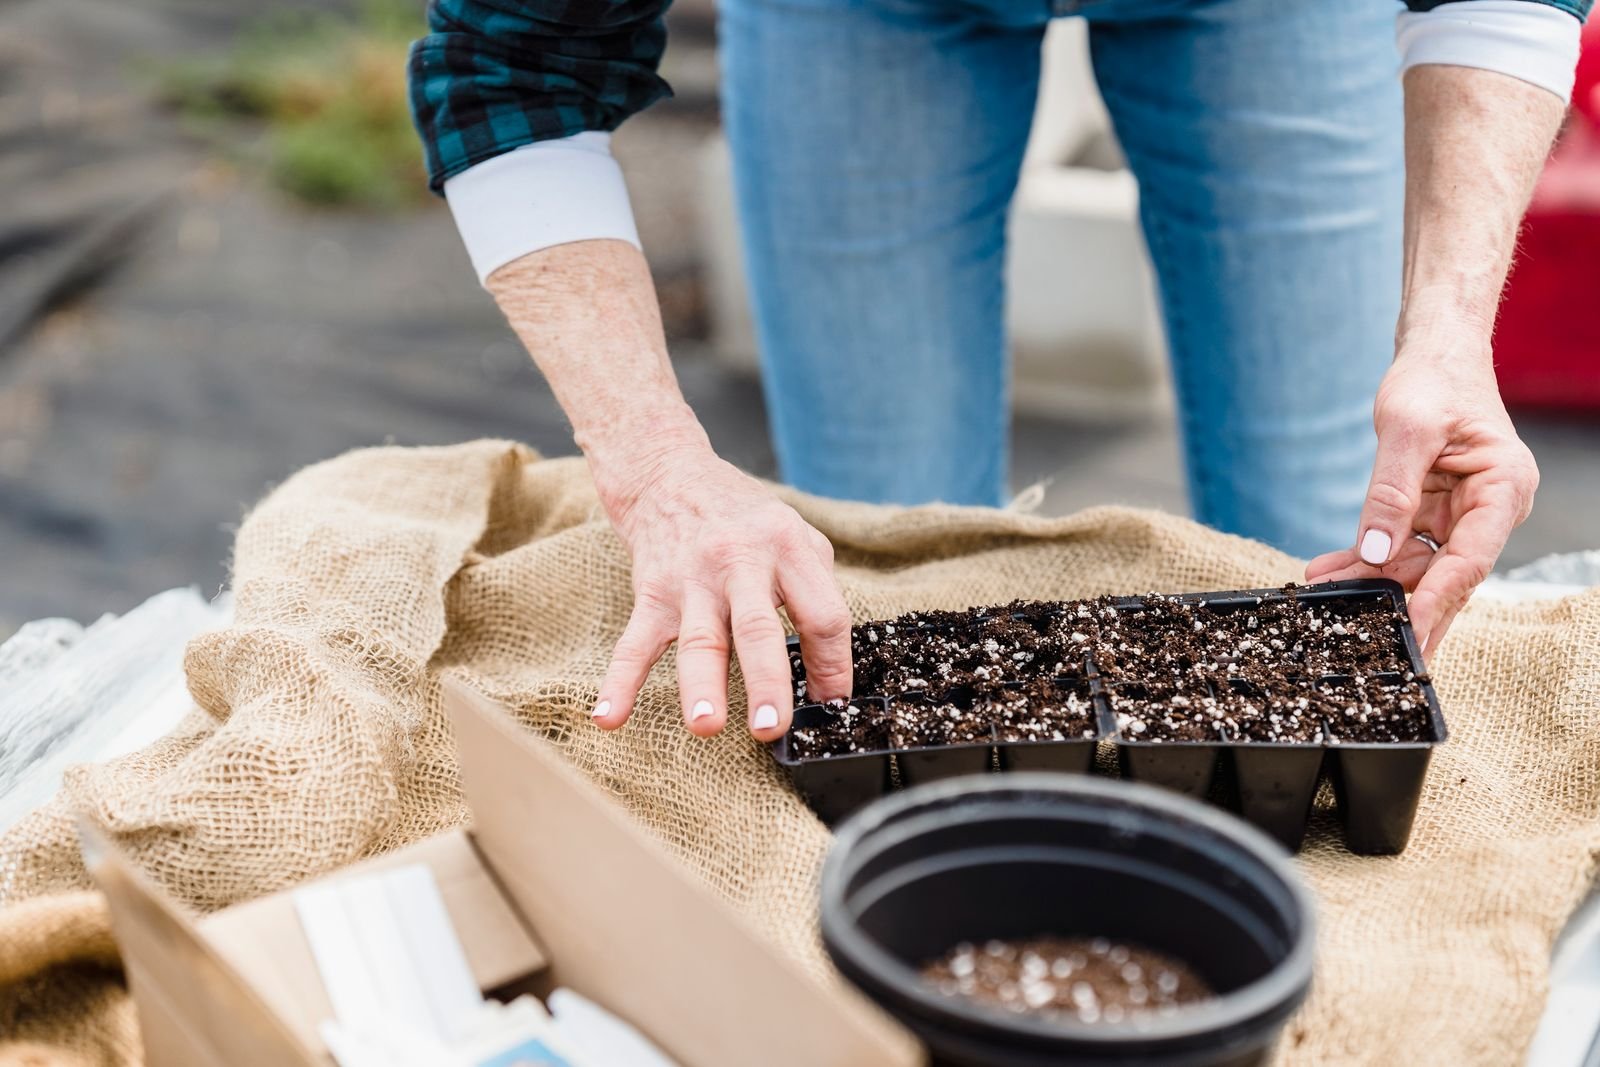
Put the dry mix in a bowl and stir in warm water until it feels like a wrung-out sponge — damp all through, never dripping. Pre-moistening matters: dry mix repels water at first, and seeds sown into it can sit dry under a wet surface. Fill each cell, tap the tray once on the table to settle it, and top up any cell that sinks. Then sow two seeds per cell — insurance against one failing — at the depth the packet states. The rule behind every packet is simple: a seed goes about twice as deep as it is wide. Tiny seeds barely get covered; a few even need light on the surface to sprout, and the packet will say so. Press the mix down gently so seed and soil touch, mist the surface, and add your labels.

4. Cover for Warmth and Humidity Until Sprouts Appear
Seeds sprout fastest warm and evenly moist. Put the clear cover — the tray’s dome, or loose plastic wrap — over the tray, and set it somewhere warm: the top of the refrigerator, or any spot that stays around normal warm room temperature. Most common vegetables sprout happily in that range; peppers are the patient ones and may take two weeks or more, so do not give up on a slow tray. Check daily. The cover should fog lightly; if water pools, lift a corner for air. The moment the first green loop pushes through, the cover’s job is done — take it off for good, because seedlings kept under a dome in still, wet air are the ones that rot at the stem and fall over.
Light Is the Step Beginners Underestimate
5. Keep Lights a Few Inches Above the Leaves
Here is the one rule that separates sturdy seedlings from the pale, stretched, floppy kind: light must be close. A seedling reads distance as darkness, so a lamp across the room — or even two feet above the tray — tells it to stretch upward searching, and that stretch never fully unwinds. Hang or prop your light just a few inches above the tops of the plants, and raise it a little every few days as they grow, always keeping that small gap. An inexpensive LED shop light or a grow bulb in a clamp lamp is genuinely enough; seedlings want brightness and closeness, not expensive equipment. Run the light roughly fourteen to sixteen hours a day — a cheap outlet timer makes that effortless.
A truly sunny south-facing window can work for a small tray, and it is the honest free option. Turn the tray a quarter turn daily so stems grow straight instead of leaning, and watch closely: if stems stretch thin and pale within the first week, the window is not giving enough, and one close light fixes it within days. Either way, the seedlings those trays become are exactly what fills the pots in our small balcony cozy garden ideas once the weather turns.
Water and Food, Kept Gentle
6. Water From the Bottom, Not the Top
Once sprouts are up, change how you water. Pour water into the solid tray underneath and let the mix drink it up through the drainage holes for twenty to thirty minutes, then tip away whatever is left standing. Bottom watering keeps the surface drier — which discourages the fungus that kills seedlings at soil level — keeps tiny seeds and fragile stems from being washed sideways, and encourages roots to grow downward. Between waterings, let the very top of the mix dry slightly while it stays damp below. A tray that feels light when lifted needs water; a heavy one does not. That lift test replaces all guesswork.
7. Feed Lightly, and Only After True Leaves
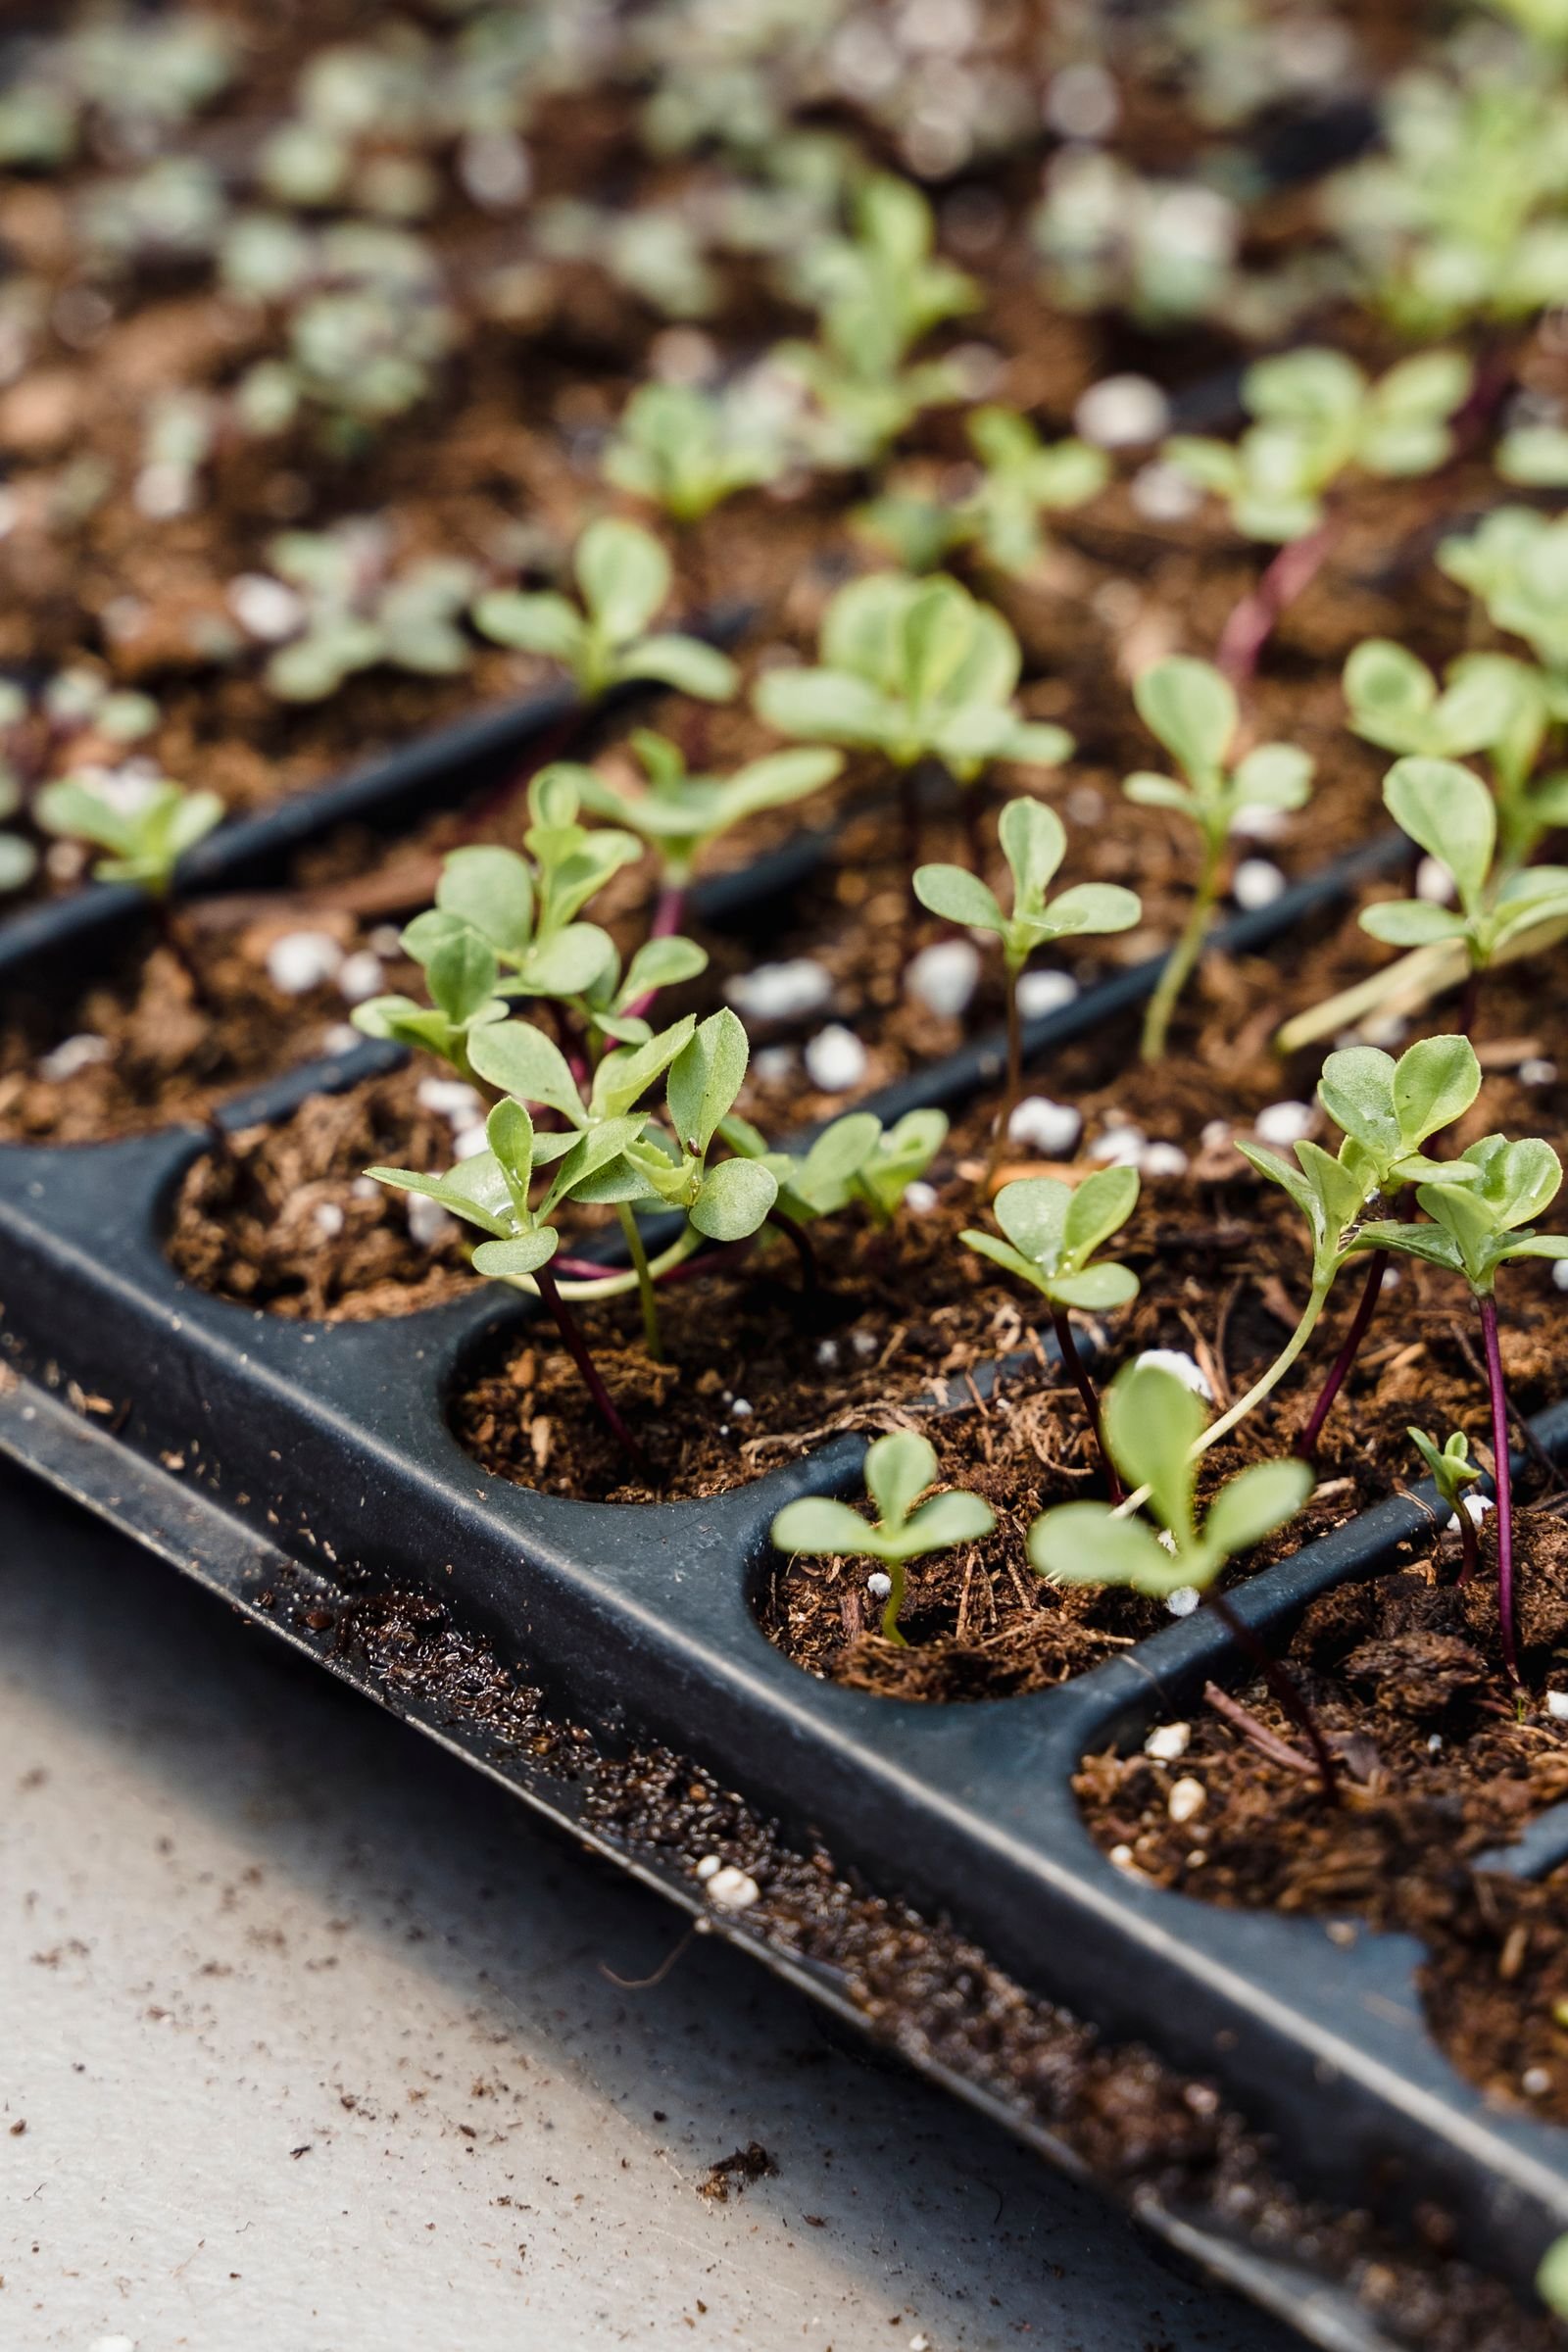
The first two leaves a seedling opens are not true leaves — they are the seed’s packed lunch, and the plant lives off them briefly. Seed-starting mix contains almost no food, by design, so once the next set appears — the true leaves, miniature versions of the plant’s real foliage — it is time for the first feed. Use a standard liquid fertilizer at a quarter of the strength the label suggests, added to the bottom-watering tray about once a week. Weak and occasional is the whole secret: full-strength fertilizer burns young roots and produces soft, sappy growth that struggles outdoors. If in doubt, feed less.
8. Thin to One Strong Seedling Per Cell
Two seeds per cell was insurance; now the bill comes due. When seedlings have their first true leaves, choose the strongest, stockiest plant in each cell and remove the other. Snip the weaker one off at soil level with small scissors instead of pulling it — pulling tears the roots of the plant you are keeping, because the two root systems are already tangled. Thinning feels ruthless and is actually kindness: two seedlings sharing one cell compete for light, water and food, and both end up weaker than one plant growing alone.
The Step That Cannot Be Skipped
9. Harden Off for 7 to 10 Days Before Transplanting
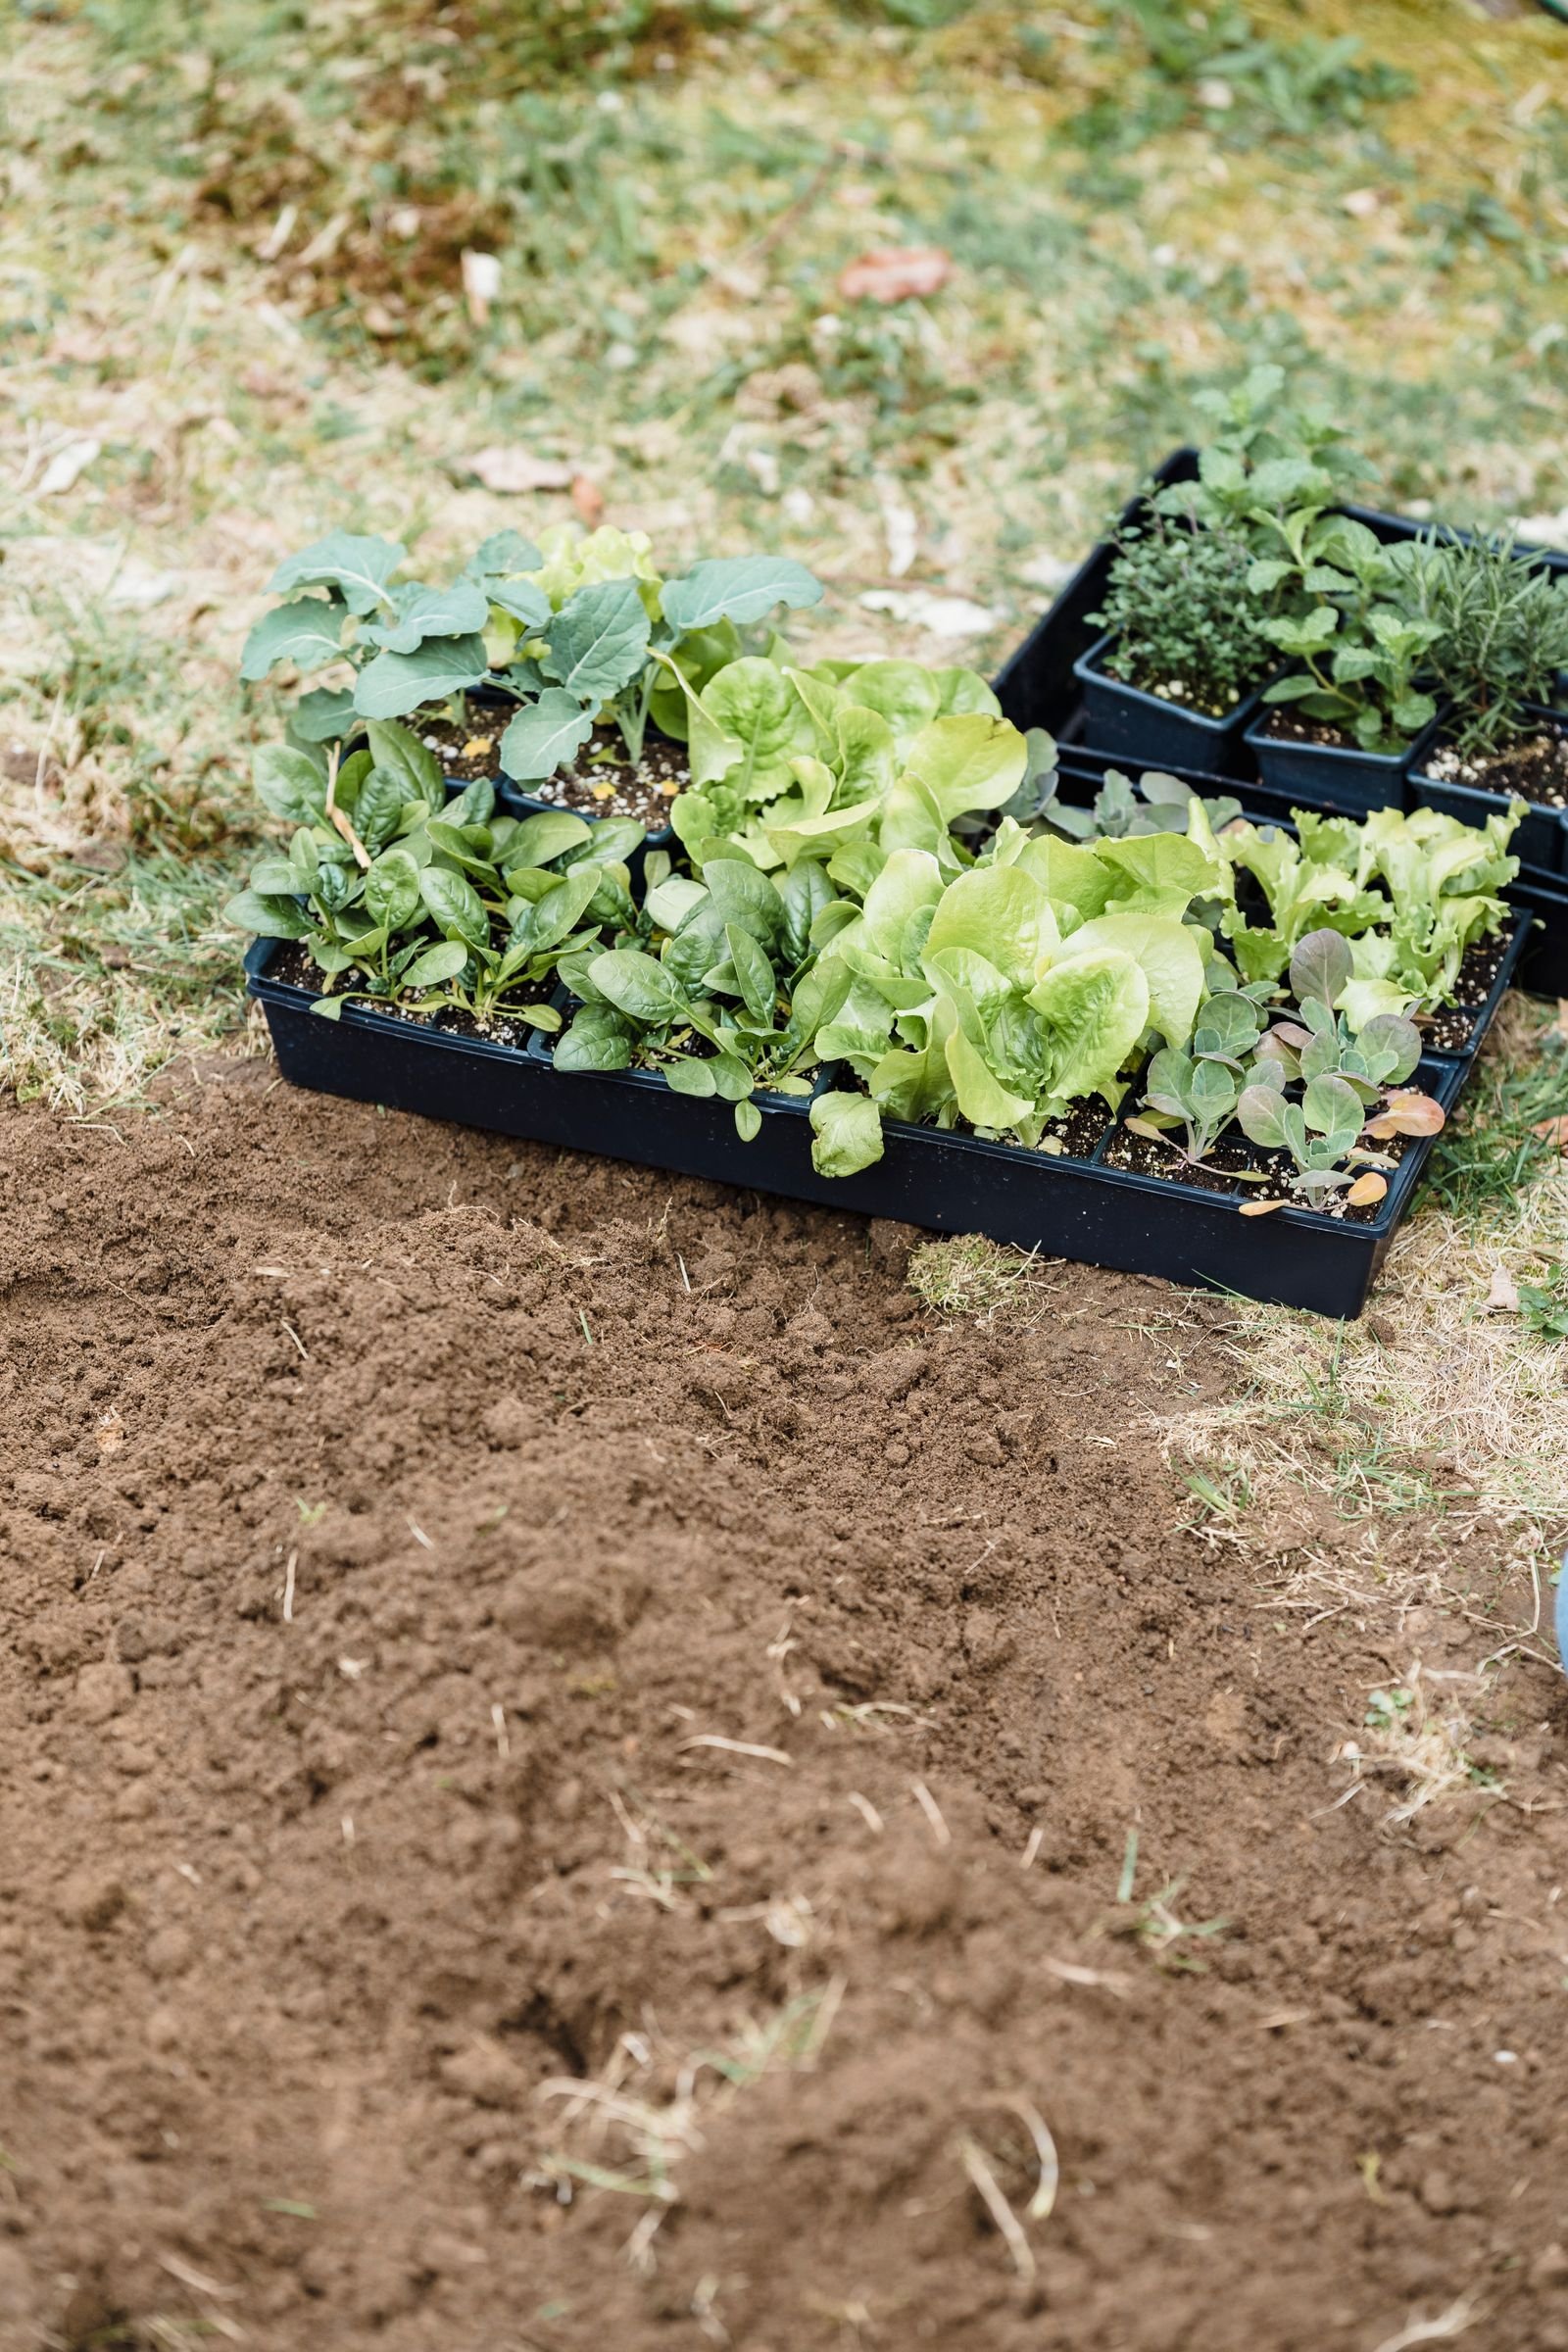
A seedling raised indoors has lived in still air, soft light and steady warmth. Put it straight into wind, direct sun and cold nights and it can scorch, wilt or stall for weeks — not because it was weak, but because it was never introduced. Hardening off is that introduction, spread over seven to ten days, and it decides whether indoor starting pays off. Begin on a mild, calm day: set the tray outside in shade for an hour or two, then bring it back in. Each day after, add an hour or two and a little more direct sun — shade, then morning sun, then most of the day — until the plants stay out all day and, for the last two or three nights, overnight as well, provided no frost threatens. If a cold snap or hard wind arrives midweek, pause and keep them in; the schedule bends, the principle does not. After seven to ten days, transplant on a calm, cloudy afternoon or toward evening, water well, and they will barely notice the move.
Seed Starting Questions
When should I start seeds indoors?
Count back from your own average last frost date by the weeks printed on each seed packet — commonly six to eight for tomatoes, more for peppers, fewer for quick crops. Find your date with a ZIP-code frost tool or your state extension, and never follow a single national calendar (Step 1).
Can I start seeds on a windowsill without a grow light?
Yes, if the window is genuinely sunny and south-facing and the tray is small. Turn the tray daily so stems grow straight, and if seedlings stretch thin and pale within the first week, add one inexpensive light hung a few inches above them — closeness matters more than price (Step 5).
Why are my seedlings tall and floppy?
Almost always light that is too far away or too few hours of it. Move the light to a few inches above the leaves and run it fourteen to sixteen hours a day. Stretched stems do not thicken back up, though tomatoes can be planted deeper at transplanting (Step 5).
How often should I water seedlings?
Water from the bottom whenever the tray feels light to lift and the surface has just begun to dry, letting the mix soak for twenty to thirty minutes, then draining the excess. Daily checking, watering only when needed, beats any fixed schedule (Step 6).
What is hardening off, and can I skip it?
It is the seven-to-ten-day introduction of indoor seedlings to outdoor sun, wind and cool nights, starting with an hour or two of shade and building to full days and nights outside. Skipping it is the most common cause of transplant shock, so treat it as part of planting, not an extra (Step 9).
Should I start seeds indoors or try winter sowing?
Both work, and January is the season for either. Choose indoor starting if you want control, live somewhere with mild or frost-free winters, or are growing warmth-loving plants like peppers. Choose winter sowing if you have real winter cold, little indoor space, and hardy crops — many gardeners do a tray of each.