
The short answer: Pack for next December, not for the attic. Work in reverse decorating order, with fragile pieces wrapped and divided before anything heavy moves, and label every box by room and contents while you can still see what is inside. An hour of order in January buys a calm first evening of decorating next December.
The Box You Pack Is a Letter to Next December
Most Christmas storage fails in the same quiet way: not breakage, but confusion. The box marked only “Christmas” that holds lights, a wreath and three unrelated ornaments. The baubles at the bottom under the tree stand. The strand that worked in January and somehow died in the dark. None of it happens because we are careless; it happens because we pack for the attic — get it out of sight — instead of packing for the person who will open the box in eleven months and want the tree up before dinner.
That person is you, and this guide is written for her. The system is simple: pack in the order you decorate, so the box needed first next year sits on top; keep fragile things genuinely separate, not just “on top and hopeful”; and label by room, because next December you will decorate room by room. If the takedown feels overwhelming, start with our declutter checklist and let some decorations leave entirely — the honest first step of storage is owning less of it.
1. Photograph the Rooms Before You Touch Anything
Before the first bauble comes off, photograph every decorated surface as it stands: the tree from two sides, the mantel, the wreath on its door, the table, the stairs. These photographs are next year’s decorating plan, in the only form you will actually consult — and they settle the annual argument about where things went.
Keep them where December will find them: a phone album named Christmas, or printed inside the lid of the first box. Four minutes converts next year’s decorating from reconstruction into copying. Note anything broken, faded or unloved as you go — decided about now, not rediscovered with a sigh next year.
2. Gather Everything to One Place Before Any Box Opens
Decorations hide: the ornament on the kitchen shelf, the garland piece in the spare room, the candle ring behind the sofa. Pack room by room straight into boxes and the stragglers surface for weeks, each needing a box reopened. Instead, carry everything to one staging place first — the dining table, a bed, one clear stretch of floor — grouped as it arrives: baubles together, lights together, soft things together.
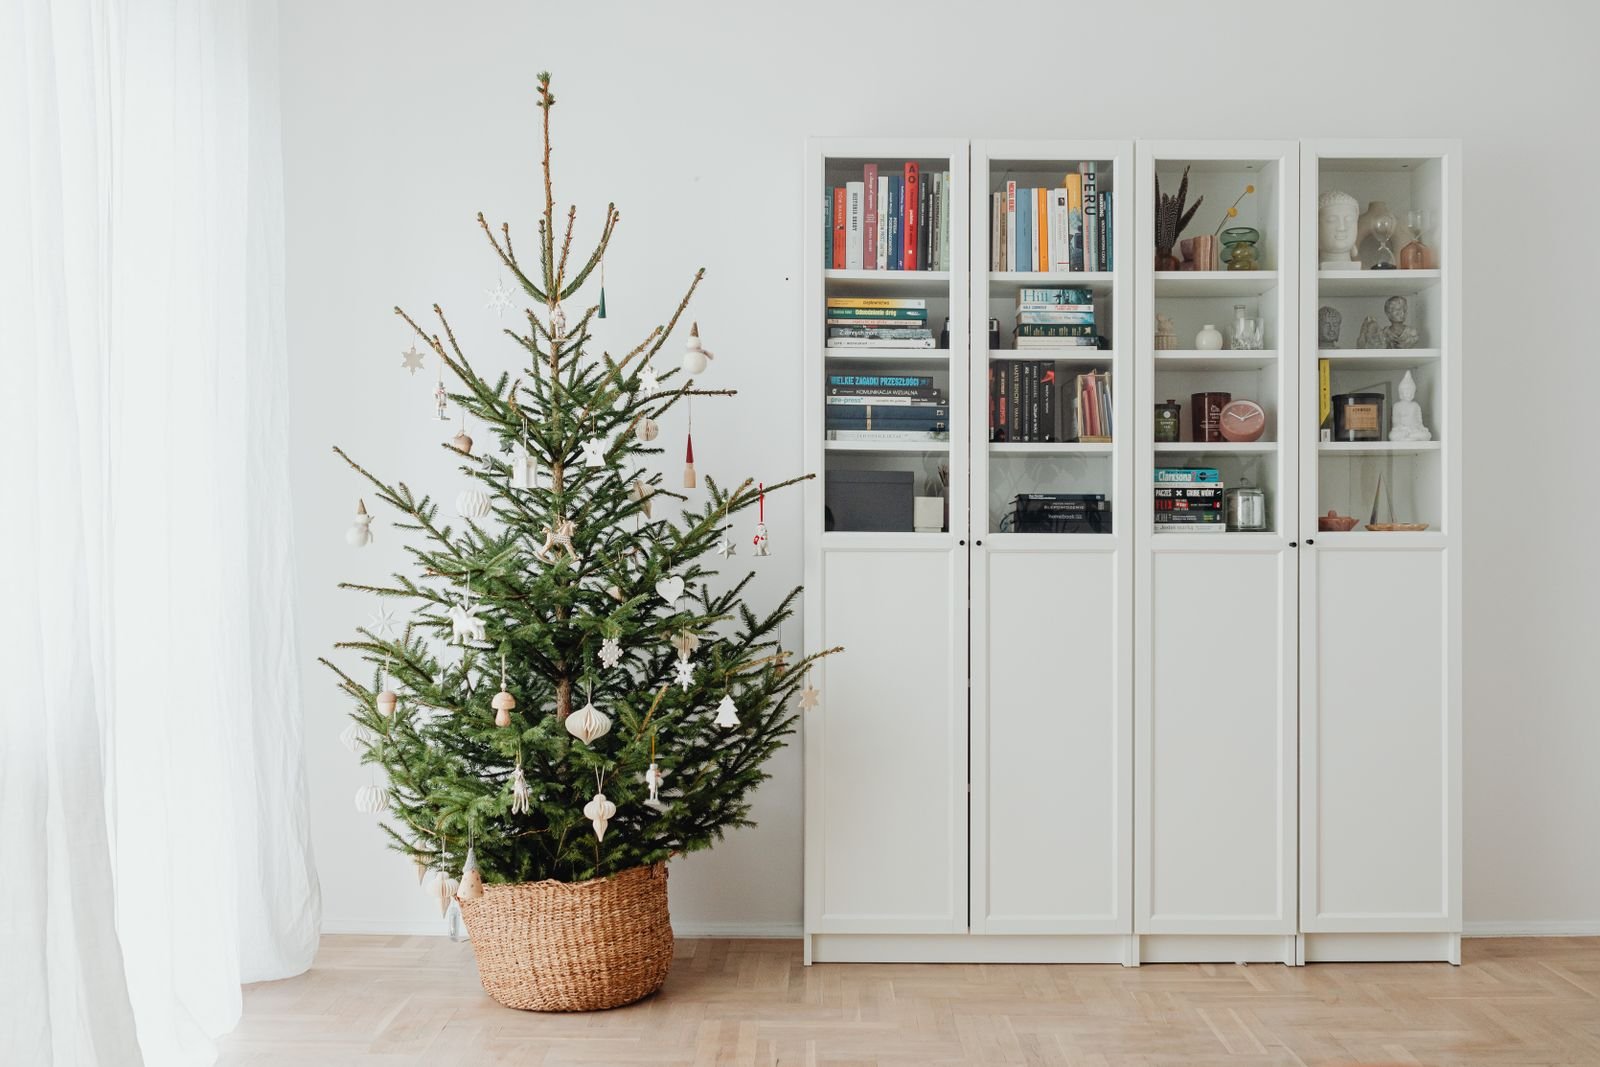
The basket under the tree is the natural first gathering point as ornaments come off the branches. Carry a soft-lined basket or tray rather than dropping ornaments into a hard box from standing height; most chips happen in the carrying, not the storing. Only when the house is fully stripped and the staging table holds the whole collection do the boxes come out — now you can pack by logic instead of by which box happens to be open.

3. Strip the Tree in Reverse, and Pack in Decorating Order
You decorated in an order: lights first, then garlands, then ornaments, topper last. Storage runs it backwards. Topper and ornaments come off first; garlands next; lights last off the tree and into the box marked first for next year, because everything else waits on them. Better still is one box per stage — lights and garland, ornaments, topper and skirt — each labelled with its number.
The topper deserves its own small box or a wrap of tissue in the ornament box’s top layer; it is usually the most awkward shape you own and the first thing crushed. The wooden tray in the photograph shows the staging habit at its best: like with like, fragile visible until wrapped.

4. Fragile First: Wrap It, Divide It, Give It Its Own Air
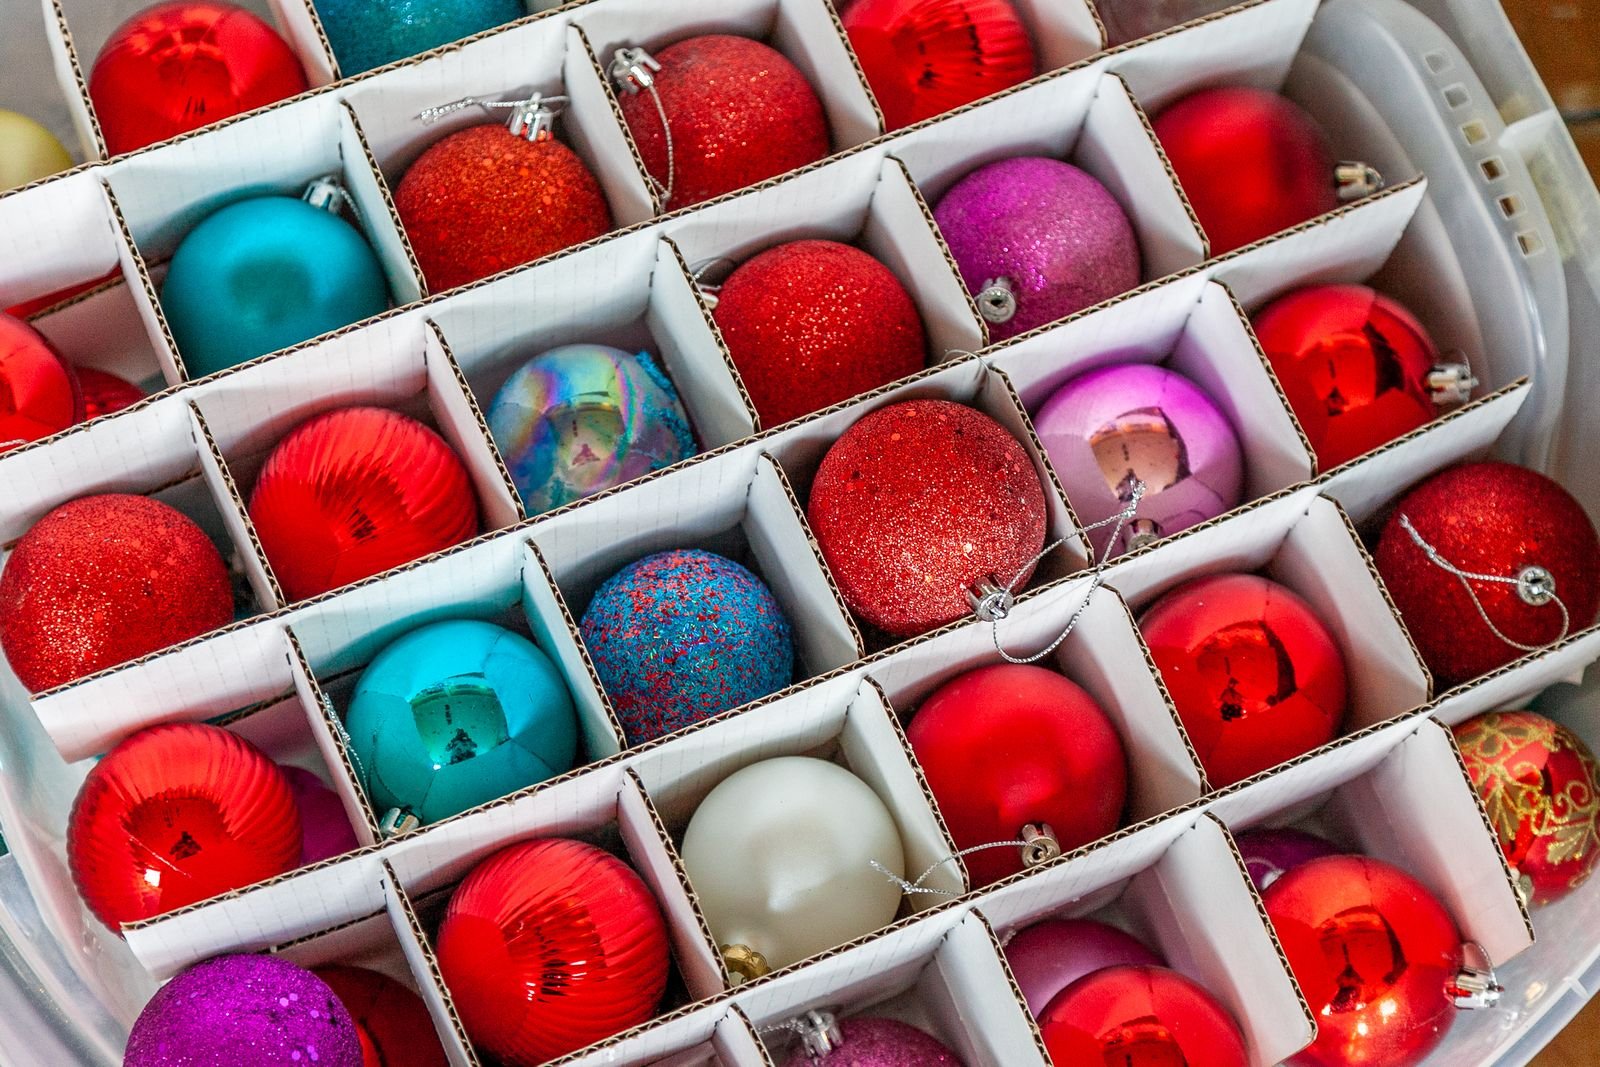
Glass and ceramic ornaments do not break from being stored; they break from touching each other. The rule is one ornament, one cell, or one wrap of tissue — never two bare glass pieces sharing space. Dividers can be the original grid, cut-down cardboard strips, cupcake cases, or egg boxes for the tiniest. Shaped ornaments — the little houses, clocks and figures that chip easiest — get tissue even inside a cell, as in the photograph, because their paint rubs first.
Work fragile-first, while you are fresh and the good boxes are still empty. Fill each cell, lay tissue over the layer, and close the box before starting the next category; an open box of wrapped glass in a busy room is an accident arranging itself. Shatterproof baubles are the forgiving opposite — they can share a bag or bin — and separate boxes mean next year you handle one gently and the other quickly.

5. Test the Lights While They Are Still on the Tree
The most useful five minutes in this guide: plug each strand in and look at it before it comes down. A dead section found now can be fixed, marked or thrown away now; discovered next December, half-wound on a bare tree, it costs an evening. Mark any flickering strand with tape on its plug, the fault written on the tape.
Then coil, never bunch. Wind each strand around your hand and elbow, or around stiff cardboard, and secure it with a twist tie. The glowing tangle in the photograph is what bunching becomes by November: twenty minutes of untangling per strand. Coiled strands store flat and unwind in winding order — which, starting from the plug end, is the order you will want them on the tree.

6. Never Store Lights in the Ornament Box
It is the most natural shortcut in the world — spare space in the bauble box, lights tossed in on top — and the photograph shows what it buys: wire in every ornament, hooks snagged on cord, a box that must be excavated rather than opened. Lights live with lights, coiled as above. Ornaments live with ornaments. The two meet on the tree, not in storage.
The same separation applies to anything with a cord or battery. Batteries come out before storage — a leak in July ruins whatever it touches — and candles store away from the attic’s warmest corner. Group by kind, and every box contains one job.

7. Wreaths and Garlands: Hang Them, Never Crush Them
A wreath stored flat under other boxes comes out shaped like the box, not like a wreath. Store it hanging — on a hook, inside a large bag against the dust — or, if it must be boxed, in a box its own size with nothing on top of it, ever. The lush wreath in the photograph would lose its shape in one season under a heavy tote; hung in a bag, it comes down ready for its door.
Garlands coil loosely into their own bag or box, wired ones shaped into a circle rather than folded — every fold is a kink you will fight next year. If your wreath is one of this year’s makes from our Christmas wreath ideas, note on its label which door it was made for; sizes blur in memory fast. Real greenery does not store at all: photograph it, compost it, and let the photograph carry the design forward.

8. Label by Room, by Contents, and by Order
A label has one job: to let next-December you find the right box without opening three wrong ones. “Christmas” fails that job. “Living room — mantel garland, candles, stockings” passes it. Write the room first; then the main contents; then, for tree boxes, the order number — Tree 1 of 3 — so the stack is built with next year’s first need on top.
Label two adjacent sides, not the lid; boxes get stacked and turned, and the lid is the one face guaranteed to be hidden. A thick marker on masking tape survives better than pen on cardboard, and the same two-sided habit we recommend in our linen closet organization ideas applies here. Add a contents line inside the lid for anything fragile.

9. Stack Like You Will Be the One Lifting It
The finished stack obeys three rules. Heaviest, sturdiest boxes at the bottom. Fragile ornament boxes ride on top, always, with nothing above them. And the box needed first next December — tree lights, or the “start here” box — sits at the front or the very top, so the season begins with one lift instead of an excavation.
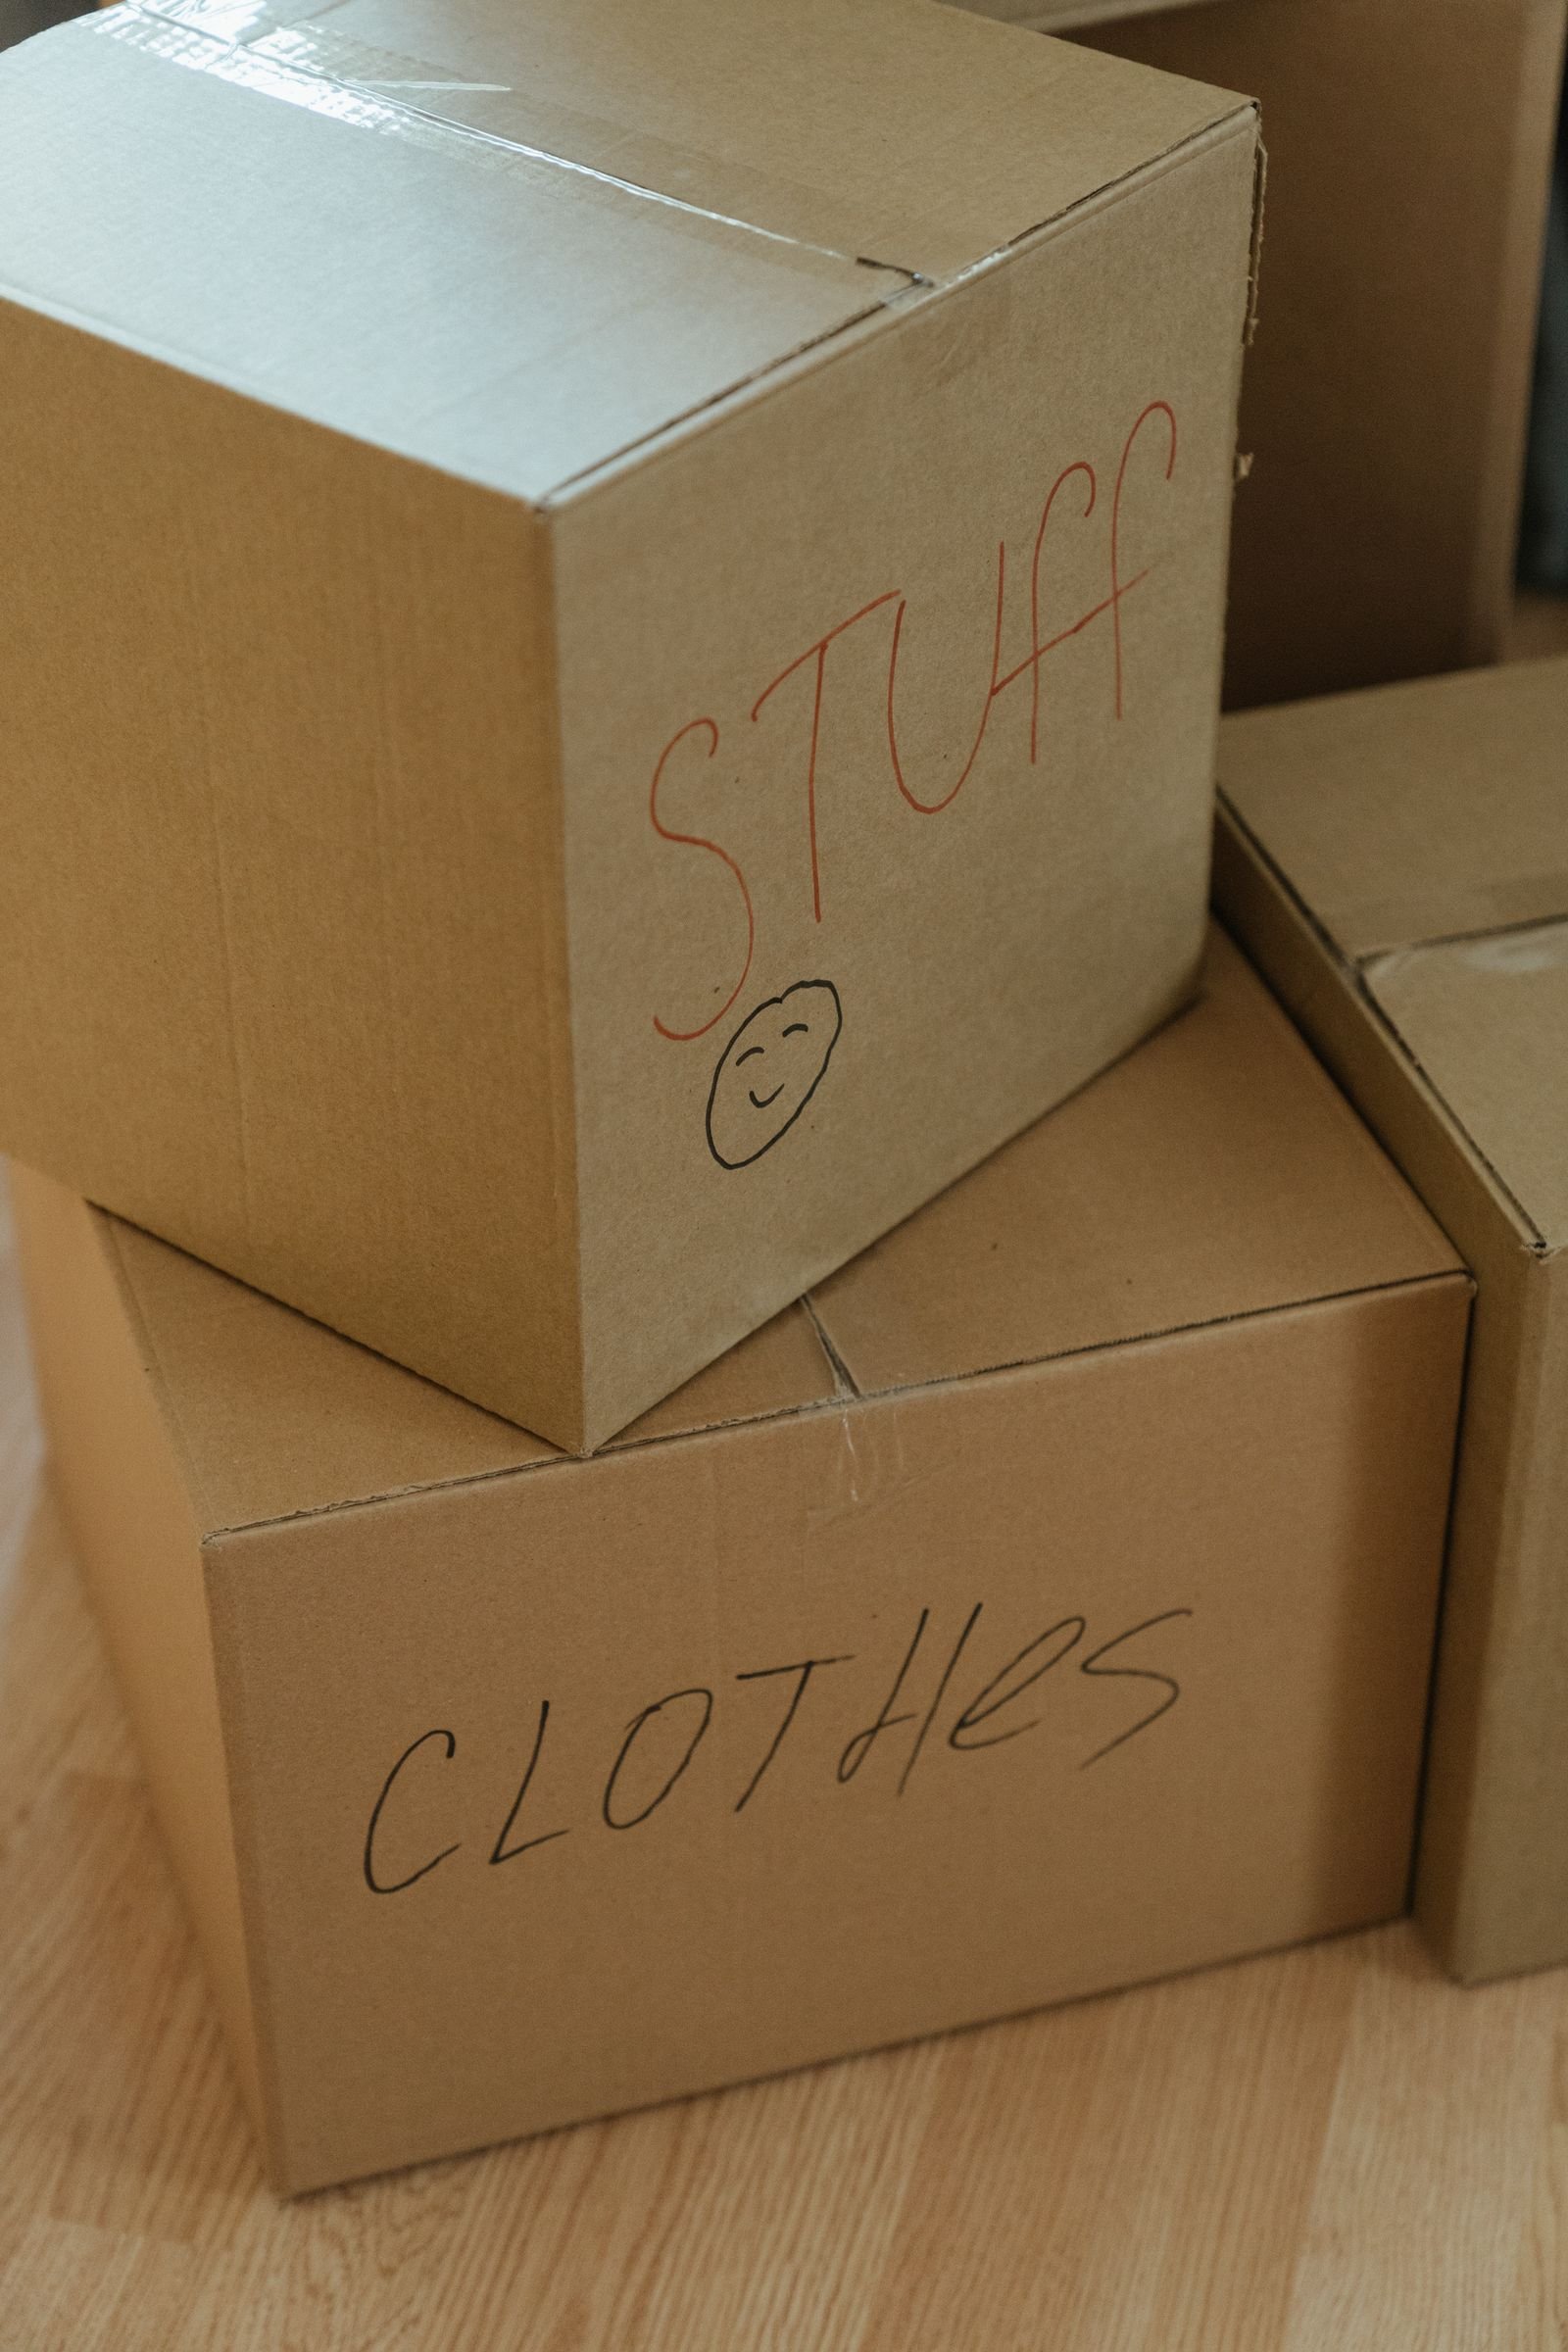
The stacked boxes in the photograph, cheerfully labelled “Stuff” and “Clothes,” are the cautionary tale in one frame: a label that could mean anything means nothing by reopening day. Ten minutes at stacking time is the cheapest calm you will buy all year. And if January finds you wanting the same order through the rest of the house, our January home reset picks up where the last box closes.
Original Boxes, DIY Dividers or Bought Organizers?
| Option | Cost | Protection | Best for |
|---|---|---|---|
| Original boxes | Free — already owned | Good while dividers last; weakens yearly | New sets and shaped pieces that fit their moulded trays |
| DIY dividers (cardboard, egg boxes, cupcake cases, tissue) | Free to a few dollars | Surprisingly good — one ornament per cell is what matters | Mixed collections; odd shapes |
| Bought organizers (divided trays, wreath bags, tree bags) | Moderate, once | Best for stacking and large collections | Big collections, artificial trees, damp or shared storage |
The honest summary: protection comes from separation and stacking order far more than from spending. Buy only where a shape defeats DIY — a wreath bag and a tree bag earn their money; a fourth divided tray usually does not. No brand is named here on purpose: the dividers in the photographs are plain cardboard, and they work fine.
Three Storage Mistakes to Avoid
- Packing the lights last into whatever space remains. They tangle, snag ornaments, and hide their faults until the worst possible evening.
- Trusting memory instead of labels. Nobody remembers which unmarked box holds the mantel garland. Write it down while you can still see it.
- Storing the wreath under weight. One season under a heavy tote flattens it. Hang it, bag it, or box it alone.
Christmas Storage Questions
What is the best way to store Christmas ornaments?
One ornament per divider cell or tissue wrap, glass separate from shatterproof, the box on top of the stack with nothing heavy above it. Separation, not expensive containers, prevents breakage.
Should I keep the original boxes my decorations came in?
Yes, while their dividers are sound — they fit the pieces exactly and cost nothing. Replace them when the cardboard softens or stops holding pieces apart.
How do I stop Christmas lights tangling in storage?
Test each strand before it comes down, coil it around your hand and elbow or stiff cardboard, secure the coil, and store lights only with lights — never loose in the ornament box.
Where should Christmas decorations be stored?
Somewhere dry, even in temperature, and reachable without moving furniture. Attics suit sturdy items; glass, candles and batteries do better in a closet. Whatever the space, the first-needed box goes at the front.
How do I store an artificial Christmas tree?
Take it down in sections, in reverse order, brush the branches outdoors if you can, and store it in its box or a tree bag with sections in rebuilding order — stand and bottom section at the opening end.
Pack the last box, label it on two sides, and file the photographs where December will find them. Next year opens with a calm evening and a tree that goes up like you planned it — because you did.