
The short answer: A home office makeover is a visual transformation, not a tidy-up: paint the wall behind the desk first, layer the light so no single ceiling bulb does all the work, thrift the desk, spend what is left on the chair you sit in all day, and style the one wall your video calls can see. Done in the right order, it fits in one weekend and under $300.
What a Makeover Is — and What It Is Not
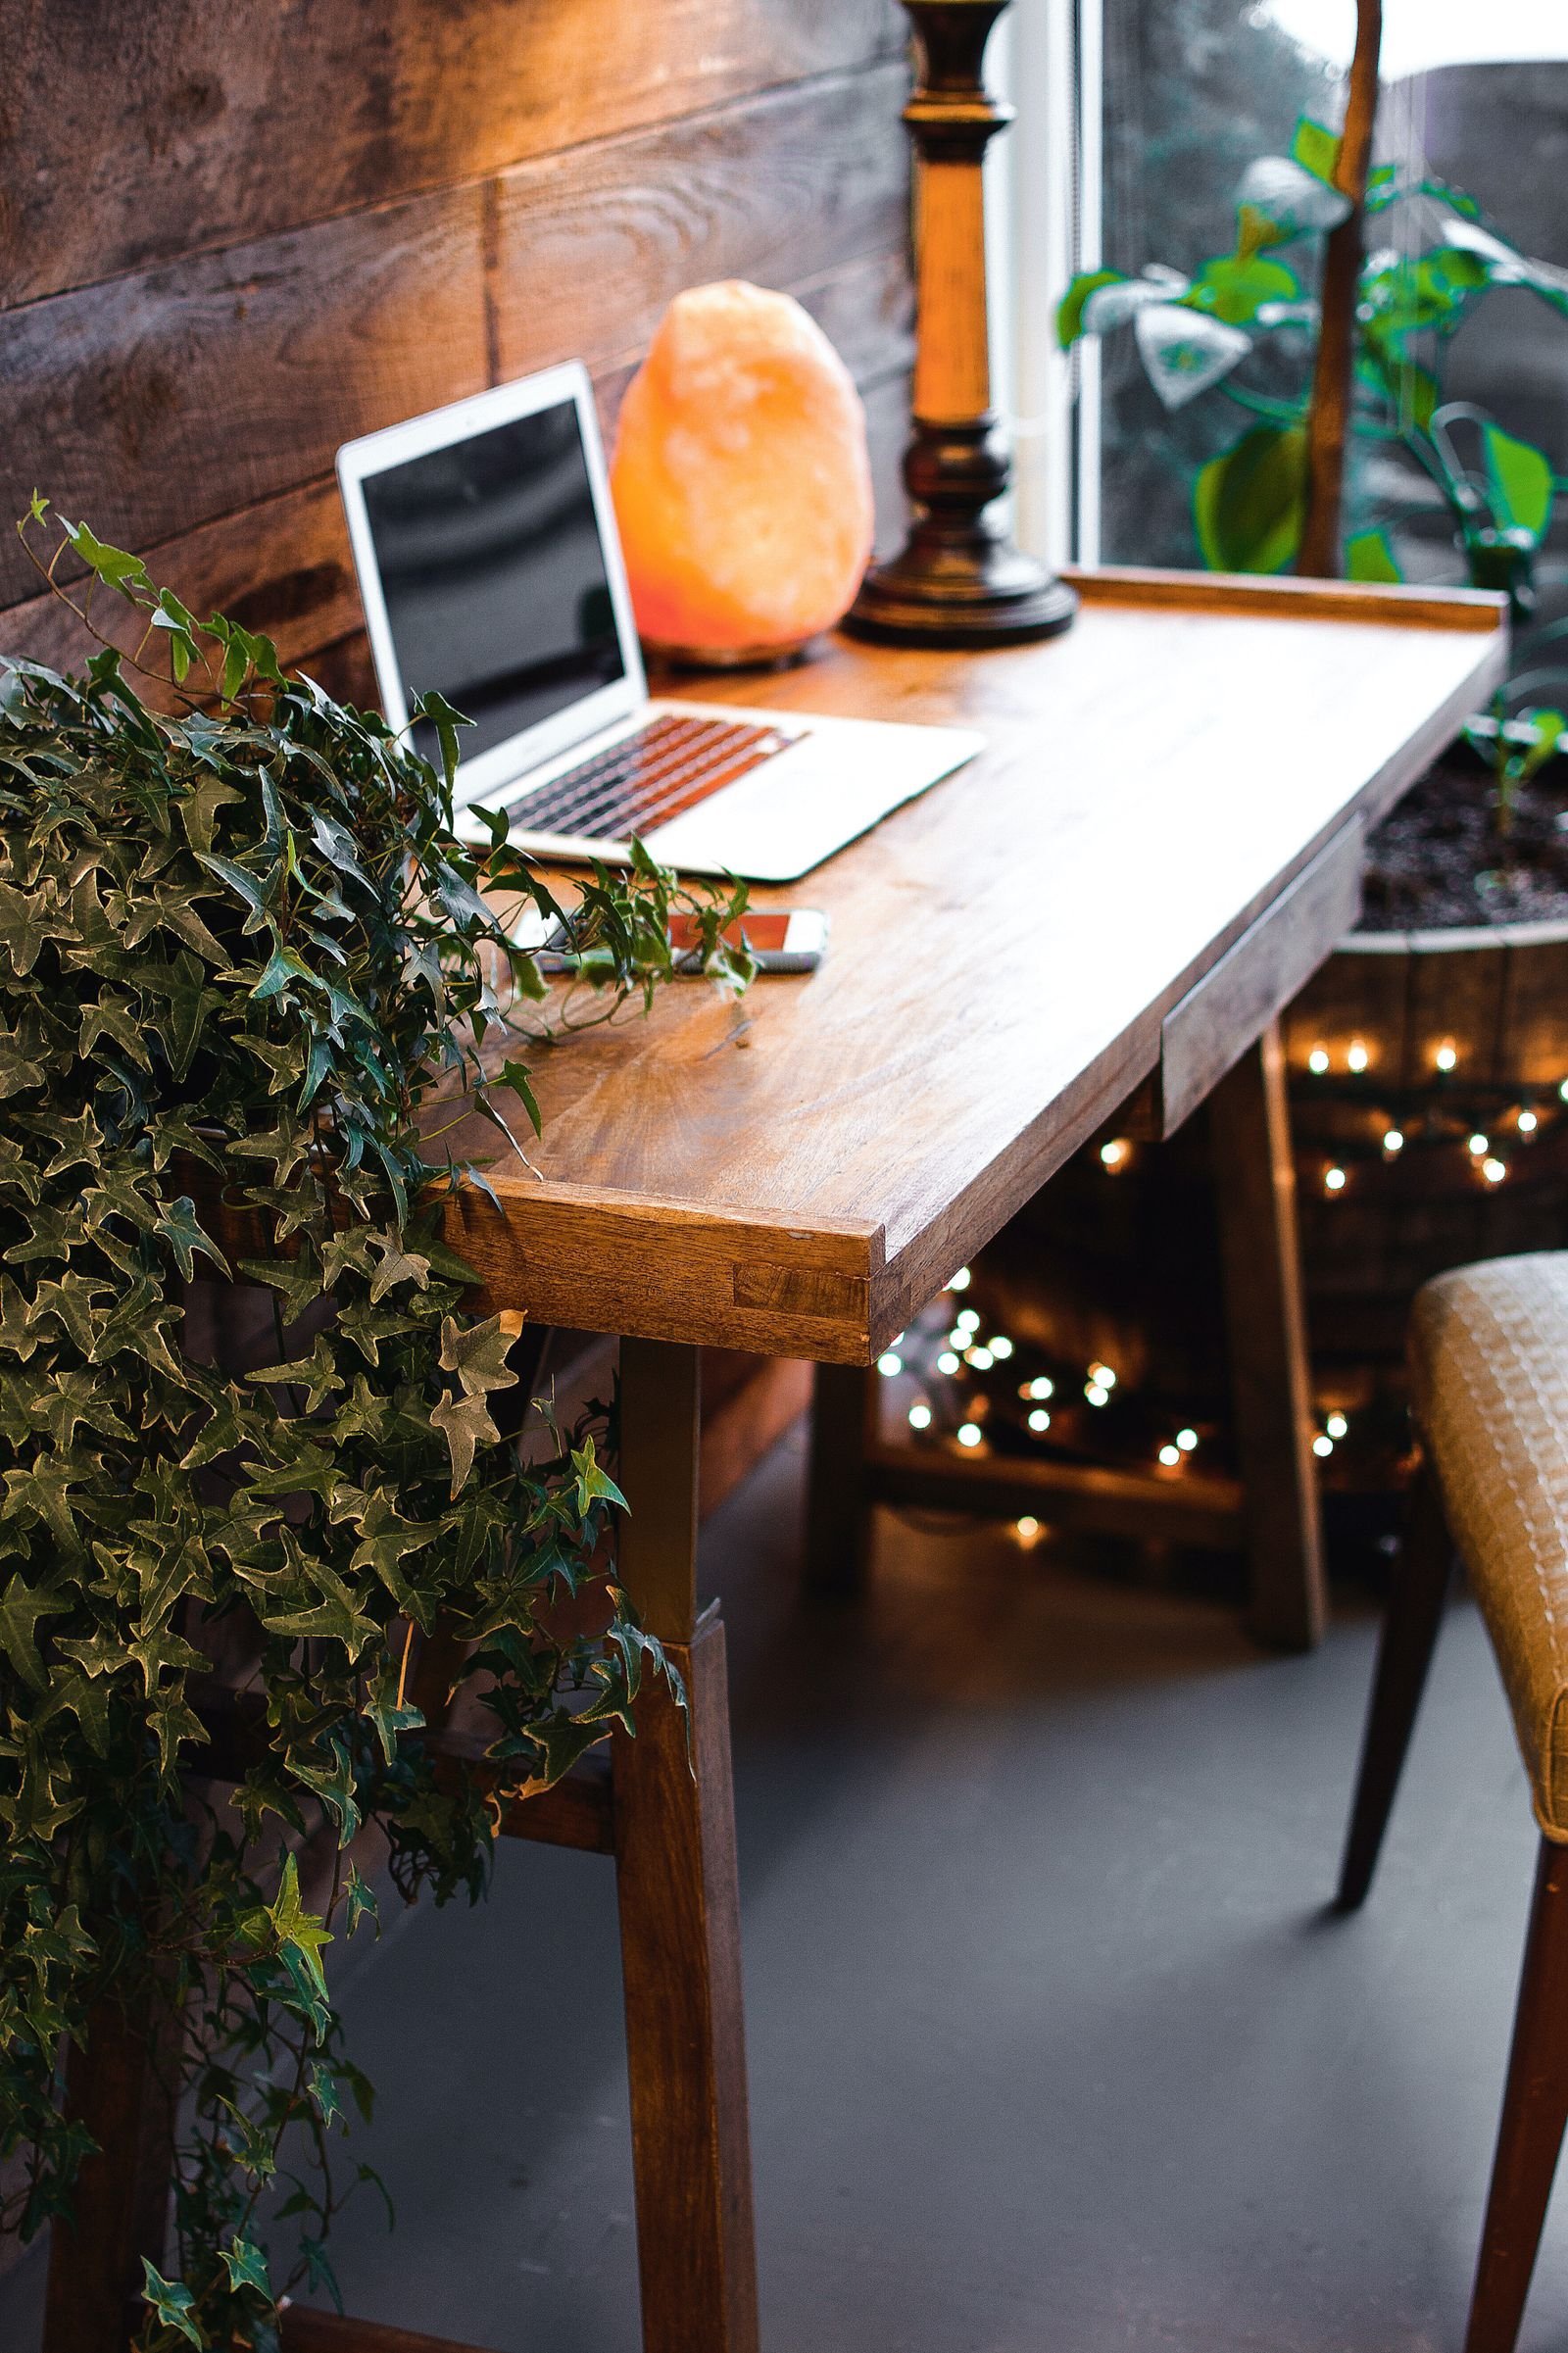
A makeover changes how a room looks and feels. It does not reorganise it. That distinction matters, because the two jobs need different weekends. If your office is small and the problem is storage, layout and cables, our guide to small home office organization ideas covers that work properly — read it after this one, as the follow-up. This article assumes your office already functions. The desk is where it is, the drawers close, you can find things. The problem is that the room looks tired, flat and faintly temporary, and you spend a third of your life in it.
So nothing here is about filing systems. Everything here is about the before and after photograph: the wall colour, the light at four in the afternoon, furniture that looks chosen rather than inherited, and a background that makes you look settled on a call. Work through it in order — wall, light, desk, chair, backdrop — because each step makes the next easier to judge.
1. Start With the Wall: Paint Before Anything Else
Paint is the cheapest way to make a room look deliberately finished, and the wall behind your desk is the highest-value surface in the office — it is the one you face, and the one your camera shows the world. One wall, one gallon, one afternoon. A warm mid-tone — sage, clay, a soft blue-grey, even a deep green if the room gets good daylight — instantly separates “office” from “spare room with a laptop in it.”
Do the unglamorous parts properly: fill the old picture-hook holes, tape the skirting, and use a small roller so the finish is even. If you rent, or the thought of repainting on move-out day puts you off, the same effect comes from a large washable rug hung or leaned behind the desk, or two or three big framed prints grouped tightly. The point is not the product. The point is that the wall stops being blank.
2. Layer the Light So the Room Stops Looking Flat
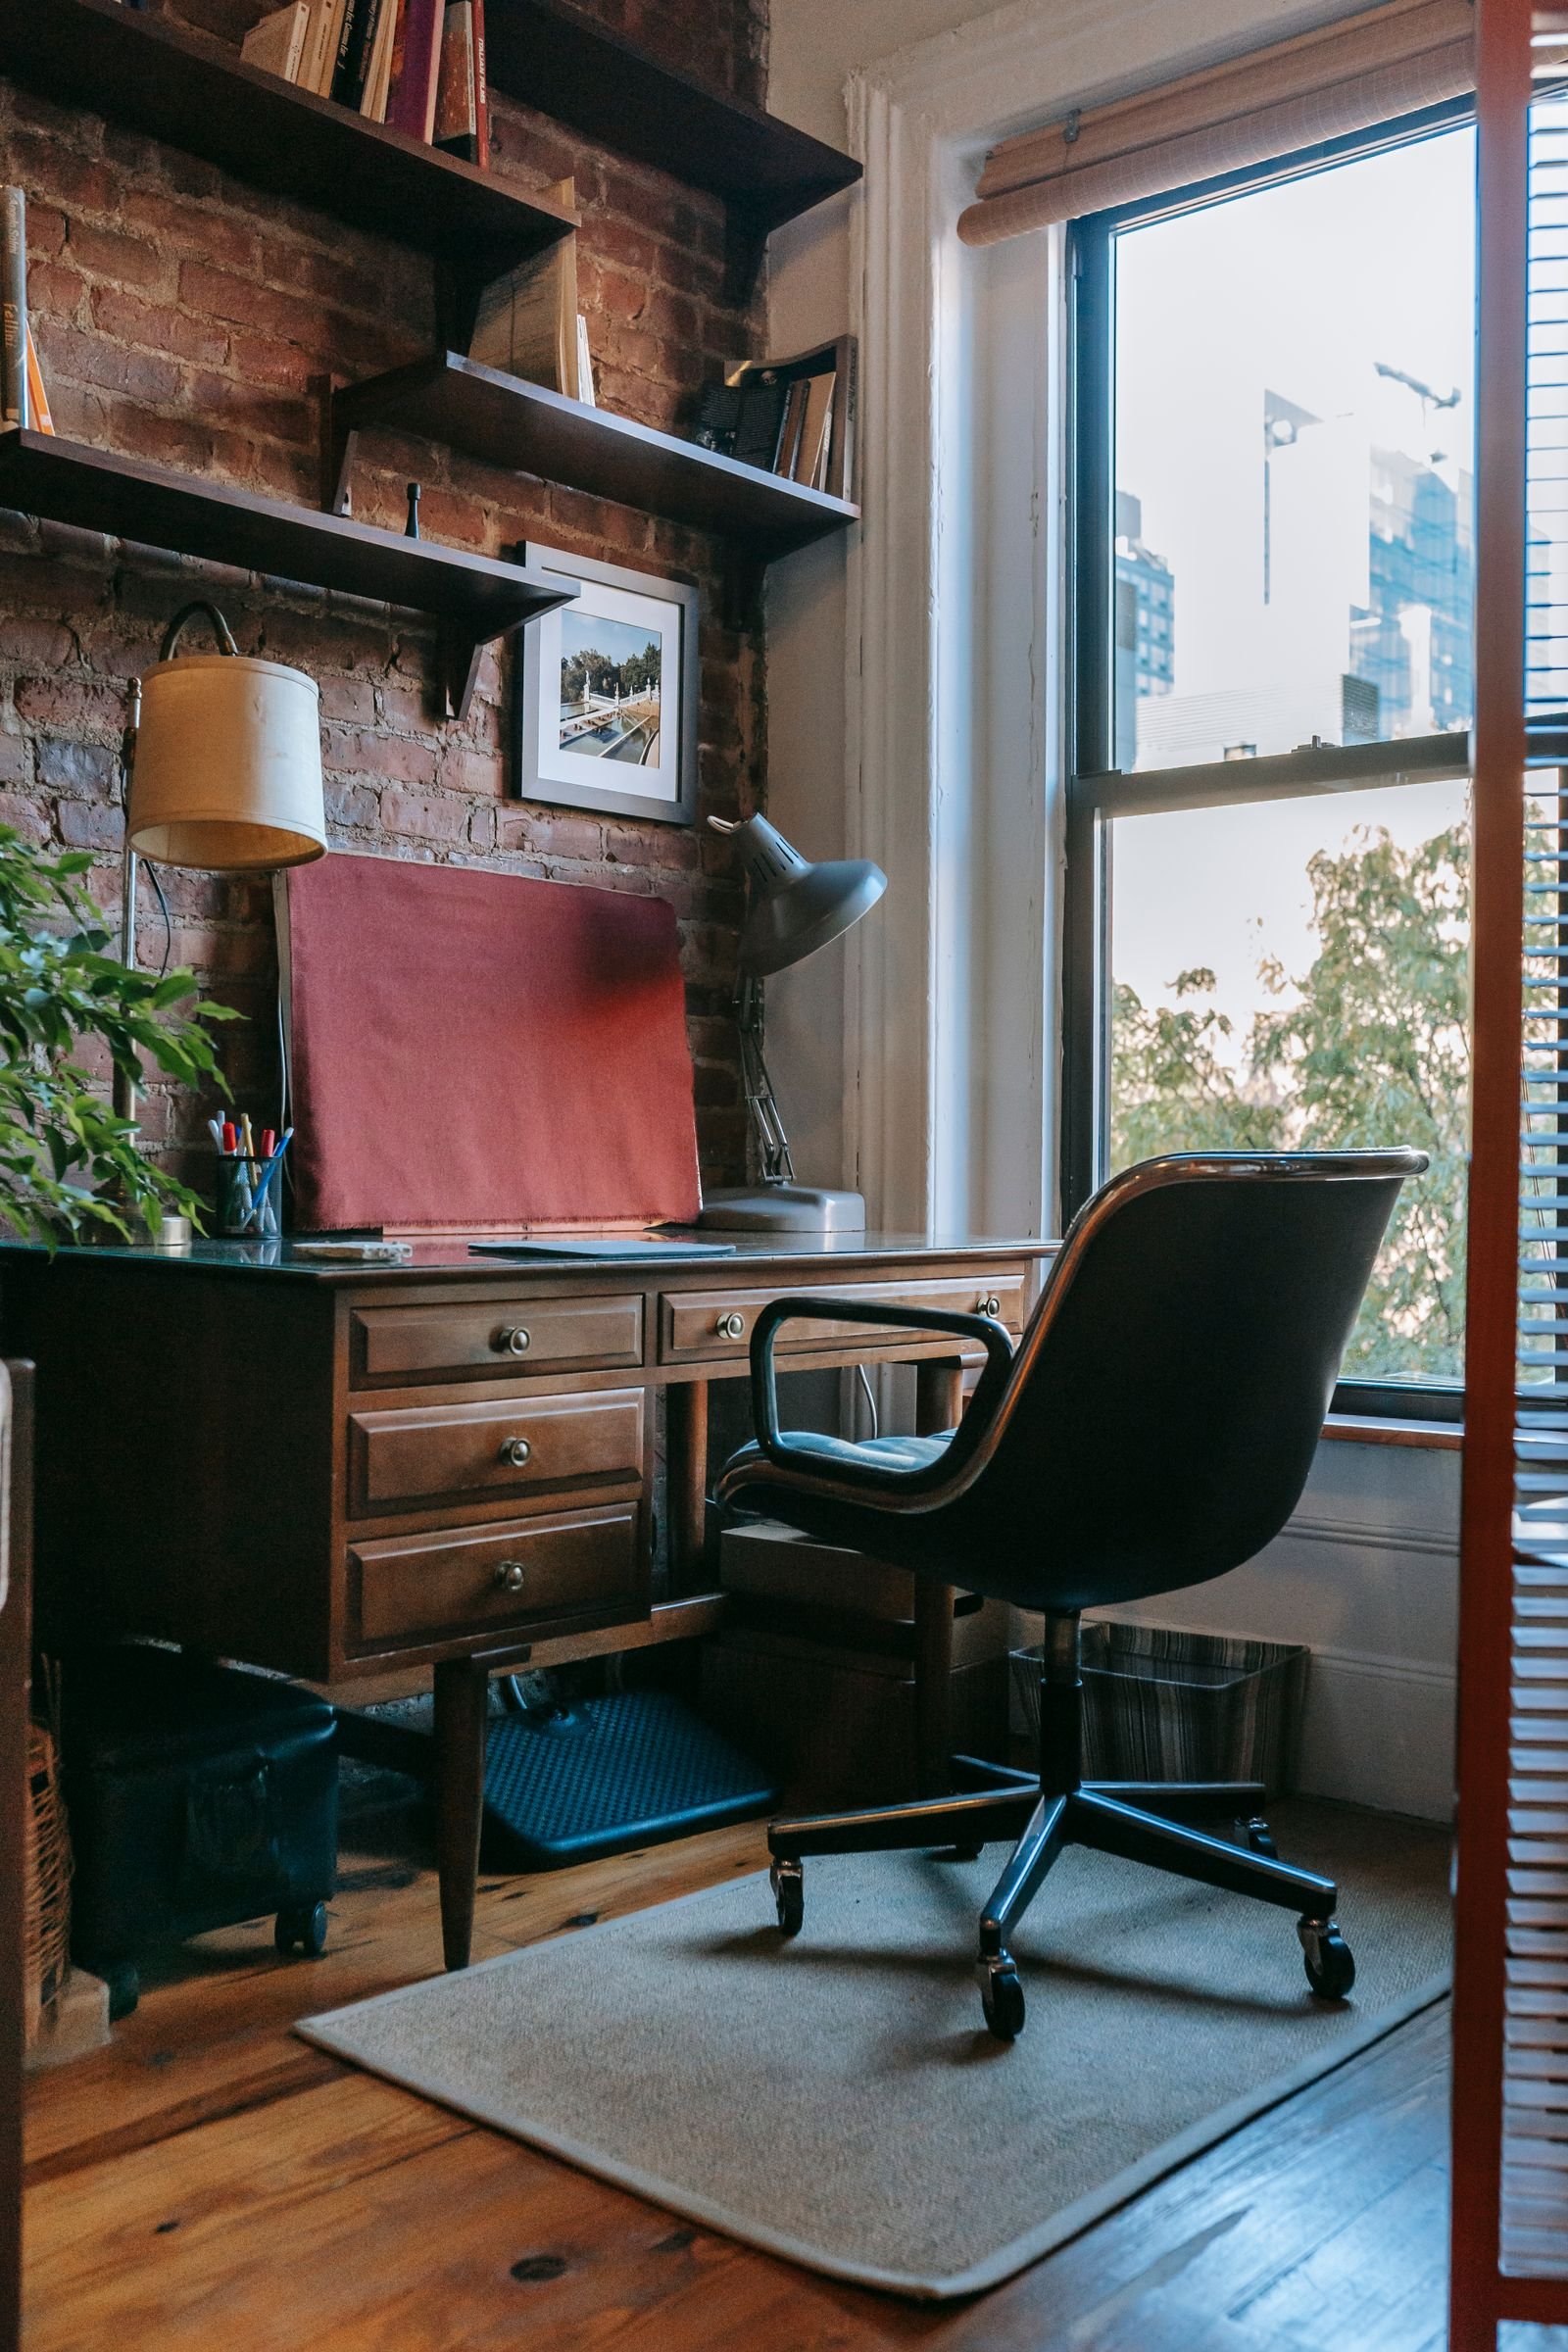
Most tired offices are lit by one ceiling light, and it shows — everything is the same brightness, shadows fall straight down, and faces on video calls look grey. A makeover fixes light in layers. Keep the daylight first: desk side-on to the window if you can, so light falls across your face rather than from behind you. Then add a desk lamp with a warm bulb, angled at the work, not the screen. Then, if the room still feels cold in the evening, one low second source — a small lamp on a shelf or bookcase behind you — gives the room depth.
Warm bulbs throughout; a single cool-white bulb will undo the paint you just put on. Test the result the honest way: join a call with yourself, or take a front-camera photo at your desk at the time you usually work. If your face is lit and the background has some shadow and depth, the lighting is done.

3. The Desk: Thrift First, Buy Second
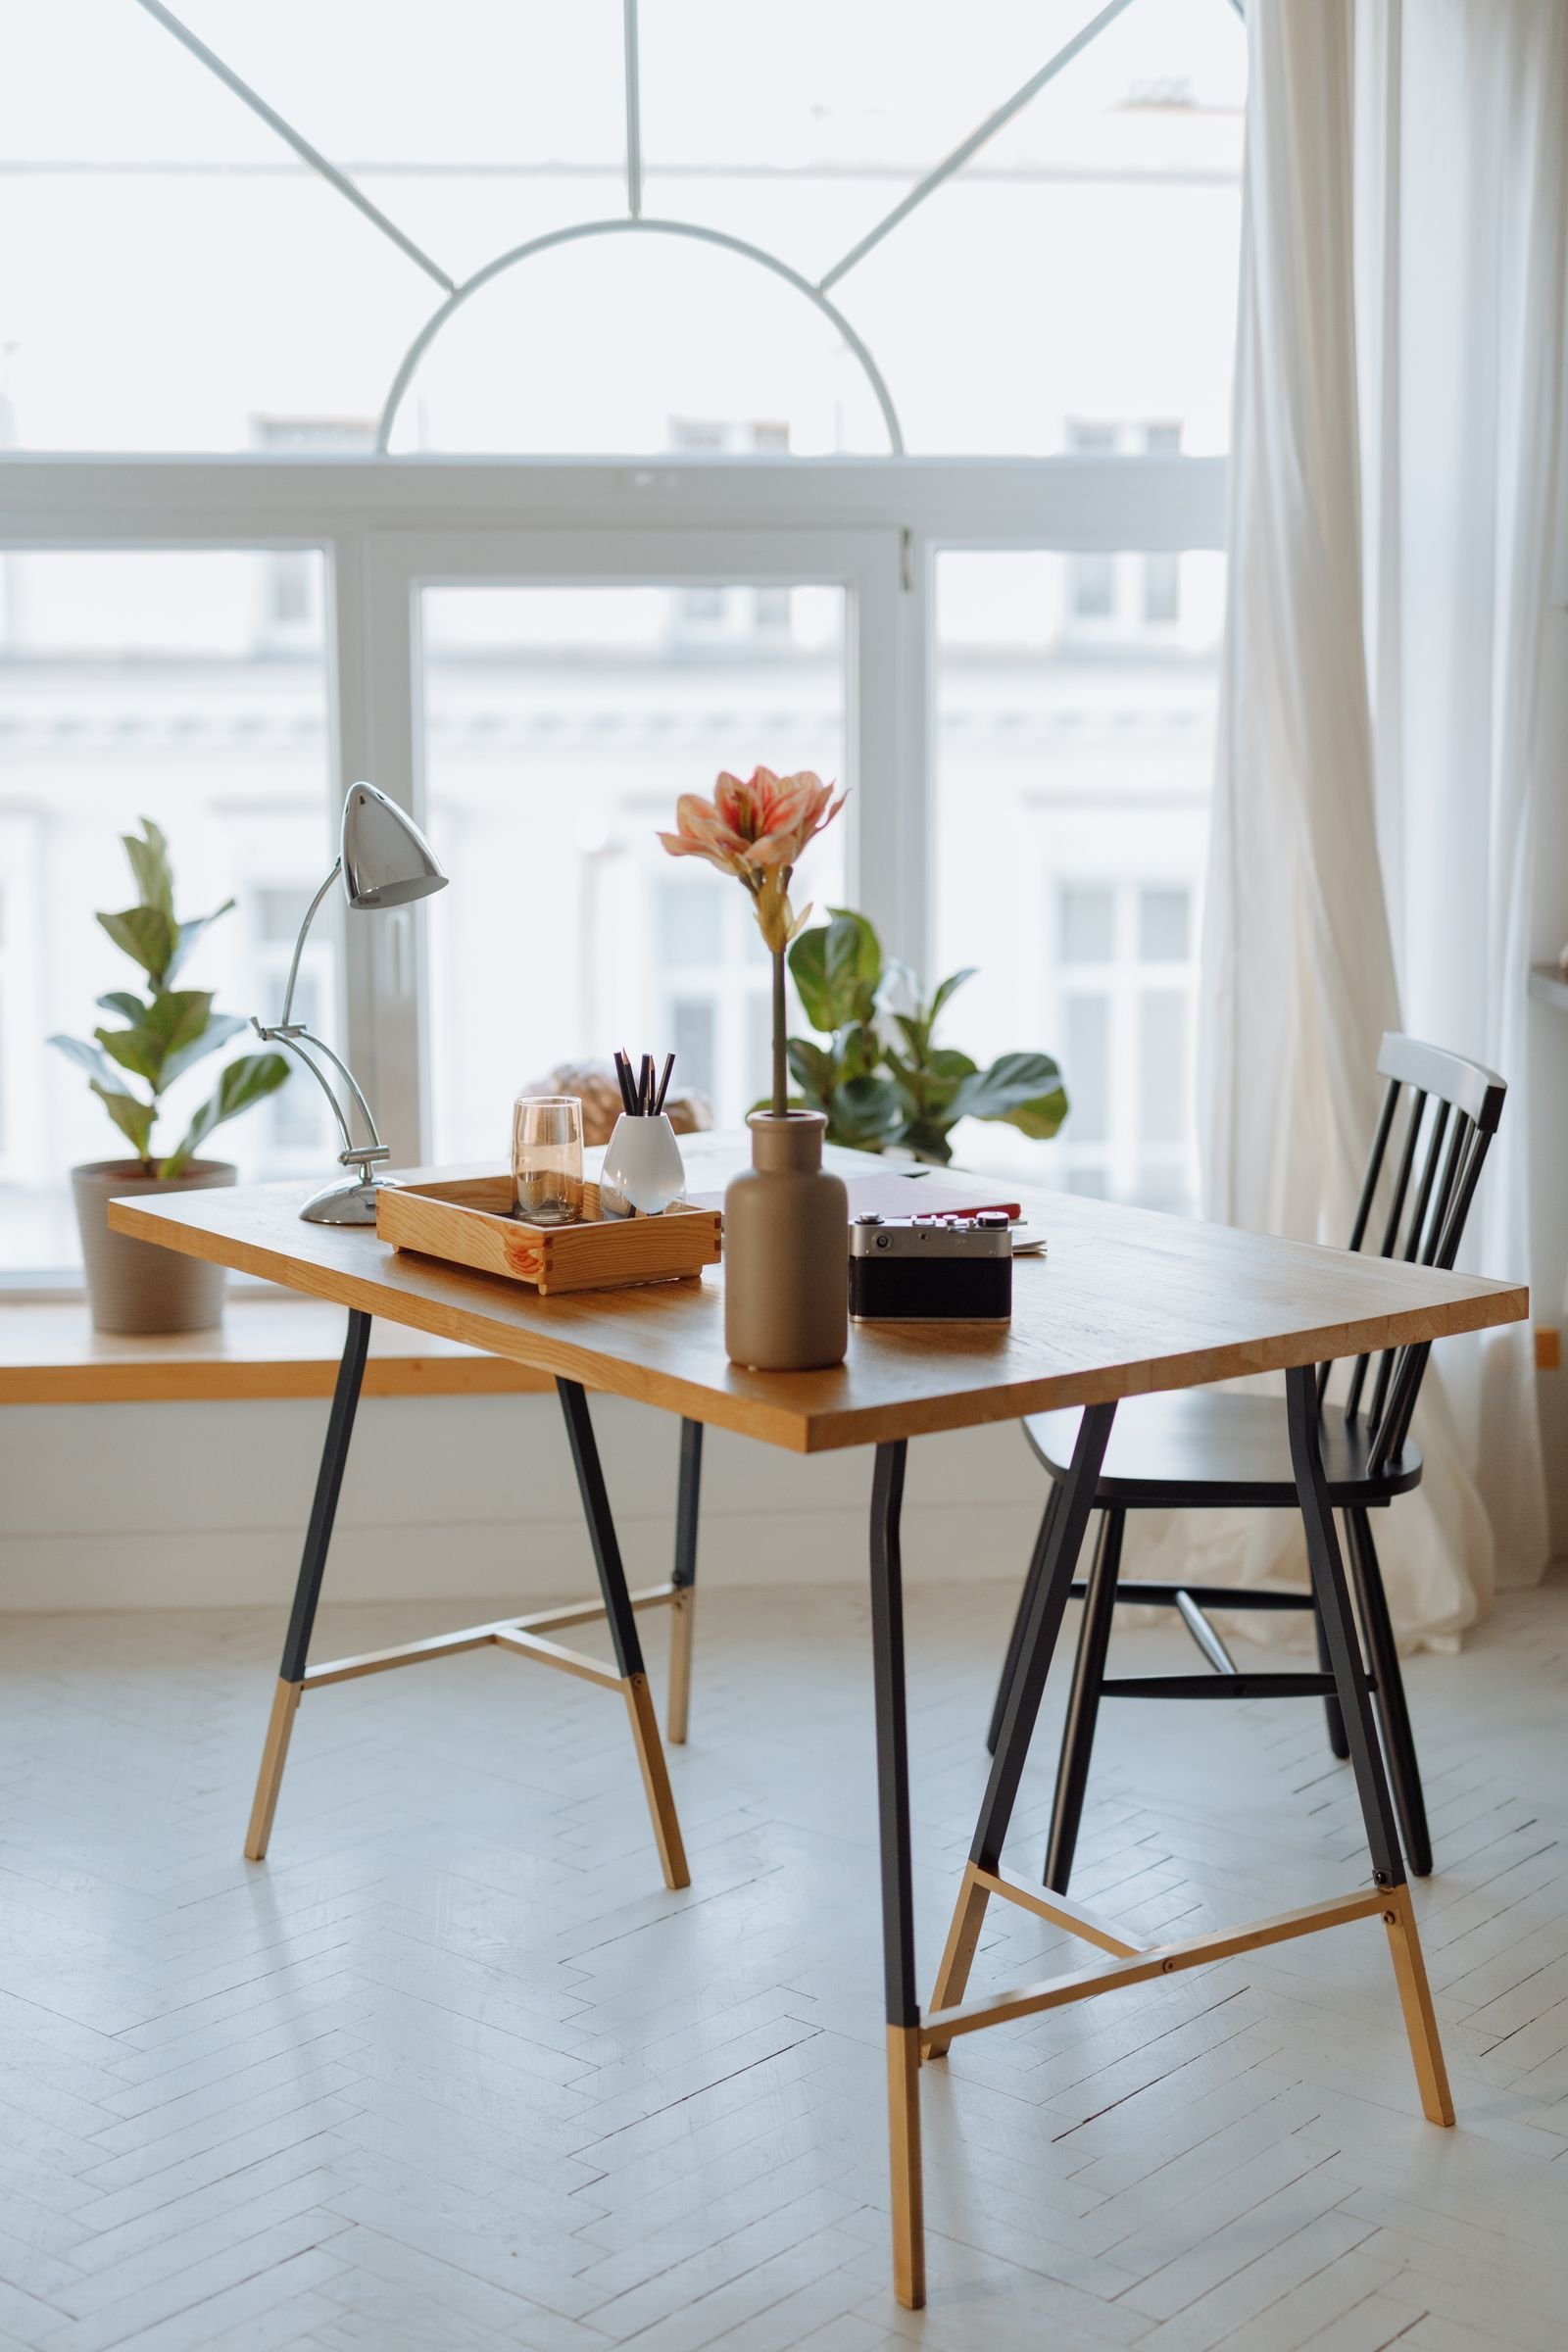
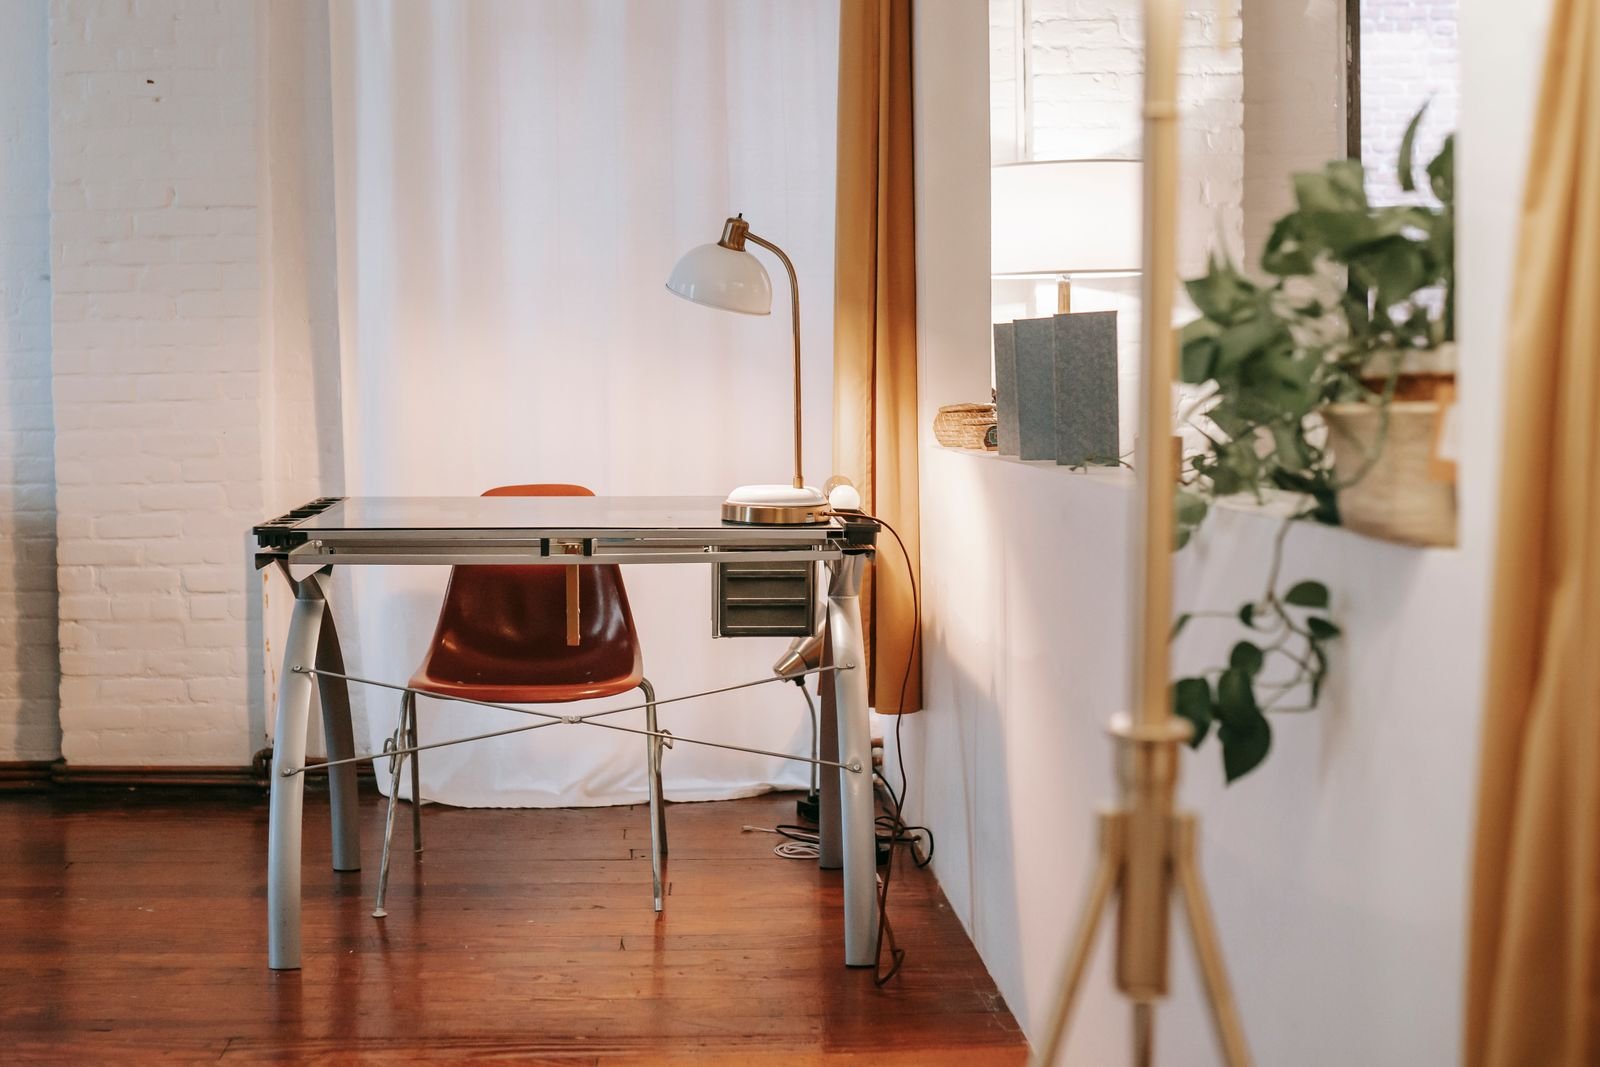
The desk is the biggest object in the room, which is why replacing it transforms the photograph — and why it should almost never be bought new on a makeover budget. Second-hand solid-wood desks, old dining tables and sturdy writing tables turn up constantly in thrift stores and marketplace listings for a fraction of new prices, because they are heavy and people want them gone. Look for real wood or a sound frame, the right height for your chair, and a top big enough for your screen and a notebook — then forgive almost everything else. Scratches sand out. Dated varnish takes paint. Wobbly legs usually need one tightened bolt.
What a thrifted desk gives you that flat-pack cannot is presence: weight, grain, a top that does not flex when you type. Clean it, sand any rough edges, and if the colour fights your new wall, paint the base and leave the top wood. That piece, against the painted wall, is most of the “after” photograph on its own.
4. The Chair Is Where the Remaining Money Goes
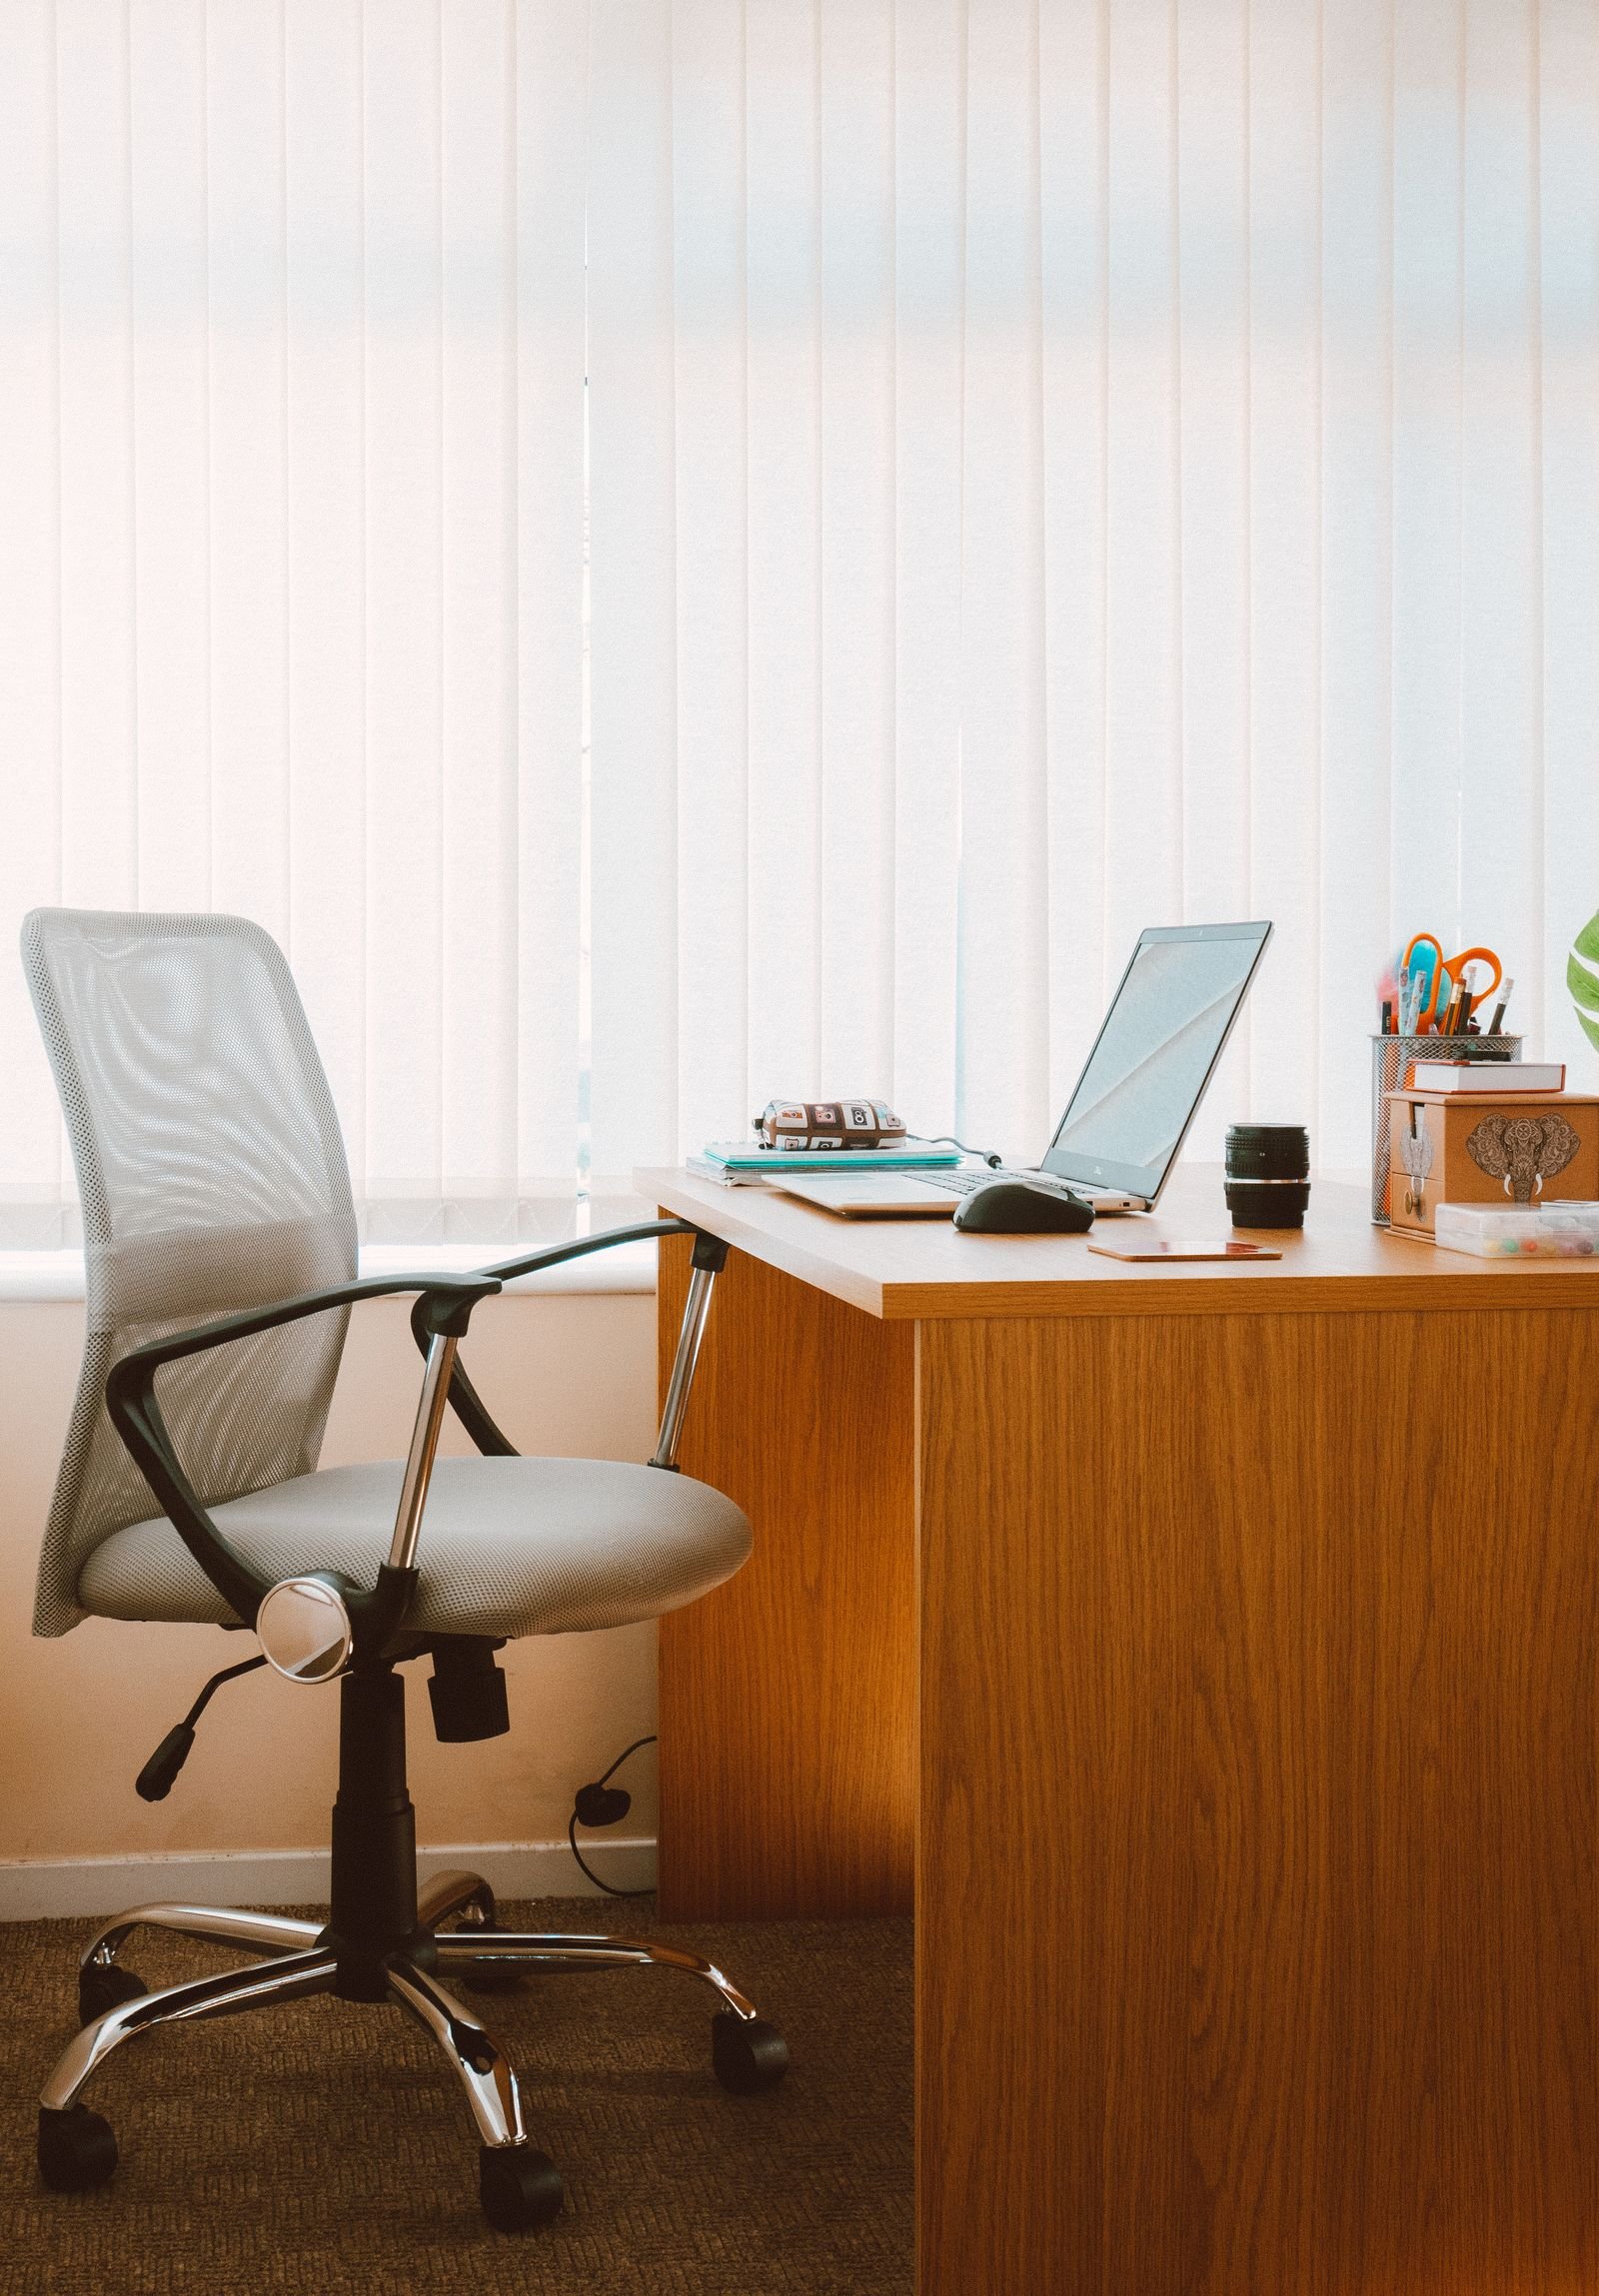
If the budget stretches to one real purchase, it is the chair — not because it photographs best, but because you sit in it for hours and a bad one quietly ruins every working day. The makeover order is: first try to save the chair you have. A fitted throw or a simple slipcover hides a tired finish, a proper seat cushion changes the comfort completely, and tightening the base bolts stops the wobble that makes a chair feel cheap.
If the chair truly has to go, buy used here too — offices clear out good ergonomic chairs regularly, and a second-hand chair that was expensive new beats a new chair built to a low price almost every time. Test before you pay: sit in it for two full minutes, check the height adjustment holds, and roll it. Then dress it simply — one cushion or throw in the room’s new colour — and it stops looking like equipment and starts looking like furniture.
5. Build One Backdrop Wall for Video Calls
You do not need the whole room to be finished — you need the rectangle your camera sees. Sit at your desk, open your camera, and screenshot what is behind you. That frame, roughly the wall area above and beside your shoulders, is your backdrop wall, and it is a small, finishable project: the paint from Section 1, one shelf or a pair of framed prints at head height, one plant where it will catch the light, and nothing that moves, flashes or needs explaining.
Keep it calm and slightly personal — books, a print, a plant — and keep it honest. Colleagues can tell a staged set from a real room, and a real room that looks settled is exactly the impression you want. Check the frame again after dark with your lamps on; a backdrop that only works at noon is only half done.

6. The Weekend Plan: Before on Saturday, After by Sunday
Here is the whole makeover as one weekend, which is also how it stays cheap — no drawn-out project, no second round of deliveries. Saturday morning: empty the room of everything that is not furniture, take your “before” photos from the doorway and behind the chair, and paint the backdrop wall. While it dries, clean and sand the thrifted desk. Saturday afternoon: second coat, then set the desk position and the light — desk side-on to the window, lamp placed, bulbs swapped to warm. Sunday: chair rescue or collection, backdrop styling, plants and textiles in, cables hidden along the skirting as the one organisational touch allowed, and “after” photos from the same two spots.
If a full reset appeals as the next step, our January home reset applies the same empty-it-first method to the whole house — the office simply gets the one-weekend version here.

7. Ground It: Rug, Textiles and Something Alive
Bare floors and bare surfaces are why made-over rooms can still feel unfinished in photographs. A rug under the desk and chair — flat-weave, big enough that the chair’s wheels stay on it — anchors the whole arrangement and softens the room’s sound on calls. One textile repeated twice is enough: the throw on the chair and a cushion in the same family, or curtains that pick up the wall colour.
Then add one living thing where it gets light: a pothos that tolerates neglect, a ZZ plant for a darker corner, herbs on a windowsill. Plants are the cheapest “after” detail there is, and the one that keeps changing after the makeover weekend is over.

8. Finish With the Small Moves That Photograph Big
The last layer is the one cameras actually register: the small, deliberate details. This is the territory of our guide to small decorating moves that make a big difference — in an office, a tray where the mug and pens land, one good notebook left out instead of a scatter of paper, the monitor raised on books or a simple stand so the desk line looks level, and one object with some age on the shelf behind you.
Resist adding more. A makeover is finished when the room looks calm in a photograph, not when every surface is styled — and a desk you can work at on Monday morning is the whole point.
The Makeover Budget Breakdown
The target for this plan is under $300 all-in, assuming you keep your current screen and computer and thrift the two big pieces. Prices are honest ranges, not promises — thrift prices vary by town, and paint varies by brand.
| Item | How | Budget range |
|---|---|---|
| Paint (1 gallon) + roller, tray, tape, filler | Backdrop wall, mid-tone warm colour | $45–$70 |
| Desk | Thrifted solid wood or sturdy table; sandpaper + wood oil or paint for the base | $40–$80 |
| Chair | Rescue first (cushion + throw $15–$30); used ergonomic chair if replacing | $15–$90 |
| Lighting | One desk lamp (thrifted or budget new) + warm bulbs | $20–$40 |
| Backdrop wall | Two frames + prints, or one floating shelf | $20–$45 |
| Rug + textiles | Flat-weave rug, one throw or cushion | $35–$60 |
| Plants + finishing tray/pot | One or two easy plants, one desk tray | $15–$35 |
| Total | $190–$420 — planned picks land under $300 |
Home Office Makeover Questions
How much does a home office makeover cost?
This plan is built to land under $300: roughly $45–$70 for paint and supplies, $40–$80 for a thrifted desk, and the rest across the chair, one lamp, backdrop frames and a rug. It can be done for less if your current chair can be rescued with a cushion and throw.
How long does a weekend office makeover take?
Two days, in the order above: Saturday for emptying, painting and preparing the desk, Sunday for the chair, backdrop styling and finishing touches. Paint drying time is the only real deadline, so start the wall first on Saturday morning.
What is the difference between an office makeover and office organization?
A makeover changes how the room looks — paint, light, furniture, backdrop. Organization changes how it works — storage, layout and systems. This article is the makeover; our small home office organization guide is the follow-up read for the working side.
What should I do first in an office makeover?
Paint the wall behind the desk. It is the cheapest change, the one your camera shows on every call, and the decision every other choice — desk colour, textiles, art — gets made against.
Can I do a home office makeover in a rented home?
Yes. Keep the paint to one wall you are allowed to repaint (or use a leaned rug or grouped frames instead), thrift furniture you will take with you, and use plug-in lamps rather than rewiring anything. Nothing in this plan needs a landlord’s contractor.
An office makeover is not a renovation or a shopping trip — it is one wall, better light, honest furniture and a background you are no longer apologising for, arranged over a single weekend. Take the before photo on Saturday morning. By Sunday night, the room you work in will look like somewhere you chose to be.